V.
Accessing a VersaCam IC Series Homepage & Monitoring Real-Time
Images
After assigning the VersaCam an IP address, you can configure the VersaCam from within its own
web pages by using any standard Web browser on a local or remote network.
A. Starting a Web Browser
Start your web browser by entering your VersaCam’s IP address. Then you can see the built-in
homepage of the VersaCam.
• Example
http://200.243.232.178/
VersaCam IC Series simultaneously supports up to 100 users. If a person tries to access VersaCam
as the 101
st
user, they will not receive any image but will see a message on upper right side of the
homepage: ‘Running Video Channel: 101’.
B. Login page
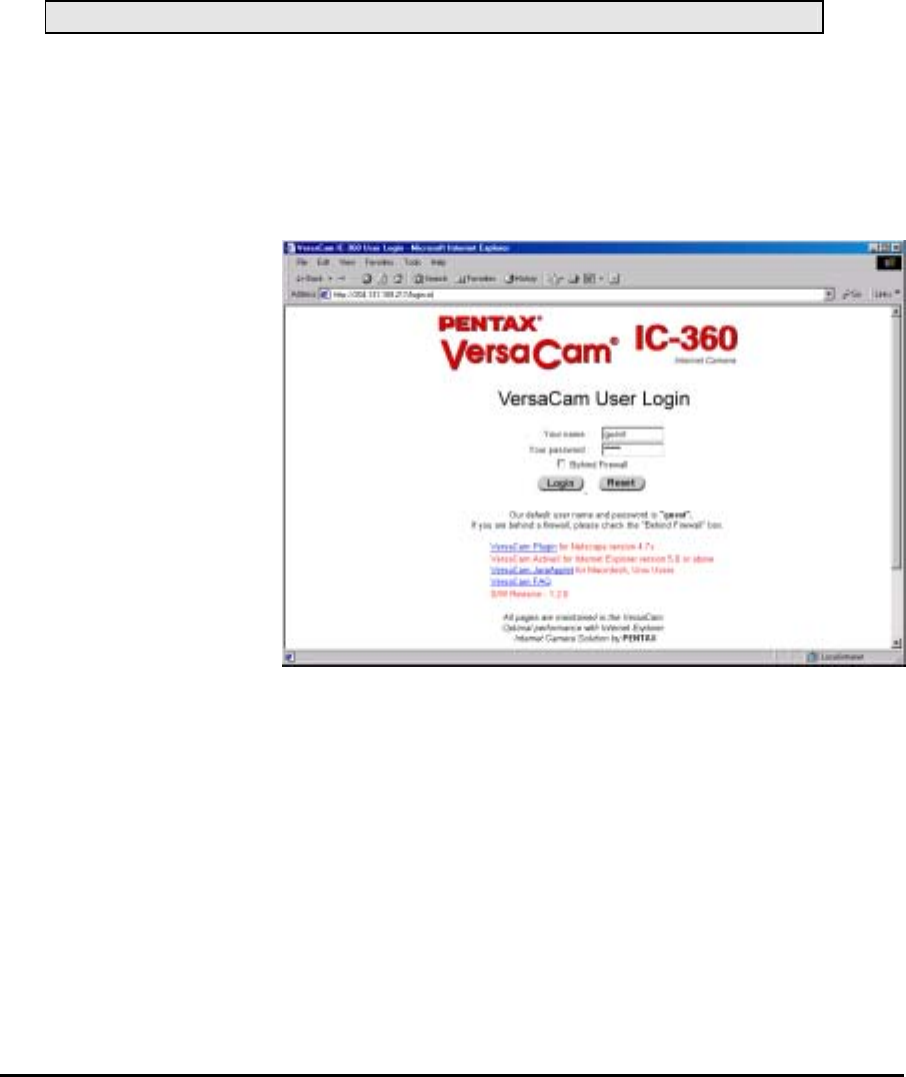
1) ID and password
To connect to a VersaCam,
you must follow the Login
procedures. If you key in a
user’s ID and Password,
you may access the viewer
to monitor real-time images,
and if you key in an
administrator’s ID and
password, you may access
the Admin page.
The default user’s ID and
password are set to ‘guest’,
and the administrator may
change them through the
Admin page. Note that each
ID and password may be
composed of up to 9 letters.
2) Behind A Firewall
If the PC is connected to a network where a firewall is installed, the real time image may not be
displayed properly because the video TCP port of VersaCam is blocked. The default video TCP port
of a VersaCam (8080) is often blocked under a firewall. In this case, the real time image may be
viewed by using the VersaCam’s Server Push Viewer that transmits video through a Web TCP port
instead of the video TCP port.
To connect to the Server Push Viewer, click on the ‘Behind Firewall’ menu selection. Performance
will likely be slower in this mode.
VersaCam IC-360 User’s Guide
13


