Using the Document Server
149
3
Note
❒ When interrupting the scan, press {Clear/Stop} key. Pressing [Continue]
from the confirmation screen resumes the scan. Pressing [Stop] deletes the
scanned images and the original on the automatic document feeder (ADF)
will be ejected.
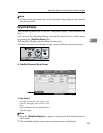
❒ As a password is set, the lock mark will be displayed on the left side of the
document.
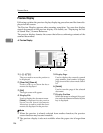
❒ As scan of the document is completed, a list will be displayed. If the list did
not appear, press [Scanning Complete].
❒ According to the factory default, the documents stored on the Document
Server are deleted three days (72 hours) after the storing date. You can can-
cel the automatic document deletion or select other period than three days
for the automatic deletion. See “Auto Delete File in Document Server”,
General Settings Guide.
❒ When storing a document, which is not to be automatically deleted, in the
Document Server, specify [Off] for “Auto Delete File in Document Server”,
General Settings Guide before storing the document. If you specify [On] for
“Auto Delete File in Document Server” after that, Auto Delete File in Doc-
ument Server will be enabled for the documents being stored after the set-
ting.
❒ When storing a document in the Document Server after storing it from the
copy feature, be sure that its copy is completed.
To register or change a user name (When using a user name registered to the Address
Book)
Following describes the procedure for registering or changing a user name to be
attached to a stored document.
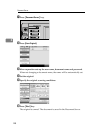
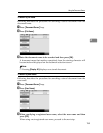
A Display the original scan screen.
B Press [User Name].
Screen for user name change will appear
C Select the user name and then press [OK].


