Section 3. Configuration
SATO M10e PN 9001101 Rev. A Page 3-15
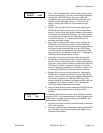
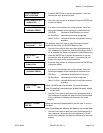
CALENDAR
00/00/00 00:00
1. Year - The first display shown will have the cursor over the
two digit year selection. You can scroll through the dates by
pressing the LINE/FEED keys. The year number will
increase by one each time the LINE key is pressed until it
reaches its maximum legal value (i.e., “99” for the year
digits). Pressing the FEED key will decrease the year
number.
2. Month - After you have set the correct year, pressing the
ENTER key will advance the cursor to the two digit Month
position. You can scroll through the numbers corresponding
to the month by pressing the LINE key. The month number
will increase by one each time the LINE key is pressed until
it reaches a value of “12”. Pressing the FEED key will
decrease the month number.
3. Day - After you have set the correct month, pressing the
ENTER key will advance the cursor to the two digit Day
position. You can scroll through the numbers corresponding
to the month date by pressing the LINE and FEED keys.
The date number will increase by one each time the LINE
key is pressed until it reaches a value of “31”. Pressing the
FEED key will decrease the day number.
4. Hour - After you have set the correct date, pressing the
ENTER key will advance the cursor to the two digit Hour
position. You can scroll through the numbers corresponding
to the hour (using a 24 hour clock) by pressing the LINE and
FEED keys. The hour number will increase by one each
time the LINE key is pressed until it reaches a value of “24”
.Pressing the FEED key will decrease the hour number.
5. Minute- After you have set the correct hour, pressing the
ENTER key will advance the cursor to the two digit Minute
position. You can scroll through the numbers corresponding
to the hour by pressing the LINE and FEED keys. The
minute number will increase by one each time the LINE key
is pressed until it reaches a value of “60”. Pressing the
FEED key will decrease the minute number.
6. After you have set the minutes, pressing the ENTER key will
accept the setting and advance to the Ignore CR/LF
selection.
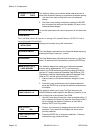
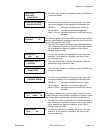
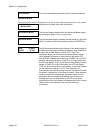
IGNORE CR/LF
YES NO
This selection tells the printer to strip out all carriage return/line
feed pairs (CR/LF ) from the data stream, including graphics and
2D bar codes. It is used primrily to maintain compatibility with
earlier models of SATO printers.
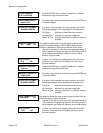
1. Use the Cursor keys to step the underline cusor to either the
YES or NO selection.
2. Once the correct setting is underlined, pressing the ENTER
key will accept the setting and advance the display to the
Character Pitch display.


