


SATOM10e PN 9001101 Rev. A Page 4-1
SECTION 4.
CLEANING AND MAINTENANCE
INTRODUCTION
The following information is presented in this section:
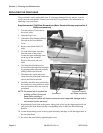
• Adjusting the Print Quality
• Cleaning the Print Head, Platen and Rollers
• Replacing the Print Head
• Replacing the Fuse
ADJUSTING THE PRINT QUALITY
One of the nice features of the SATO printers are their high print quality. They are equipped
with two different methods of adjusting the quality of the print; print darkness and speed.
When adjusting for optimum print quality, a bar code verifier system should be used. The
human eye is a poor judge of the relative widths of the bars in a symbol, a characteristic that is
extremely important for good bar code quality.
PRINT (DARKNESS)
This adjustment allows the user to control (within a specified range) the amount of power that
is used to activate the individual print head heat elements. It is important to find a proper print
darkness level based on your particular label and ribbon combination. The printed images
should not be too light nor should the ink from the ribbon “bleed.” The edges of each image
should be crisp and well defined.
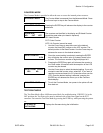
The Print Darkness can be set using the front panel LCD panel or by downloading the setting
using the Print Darkeness software command. Once the range has been selected, the PRINT
Potentiometer on the front panel can be used to make finer adjustments.
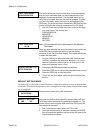
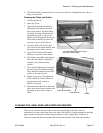
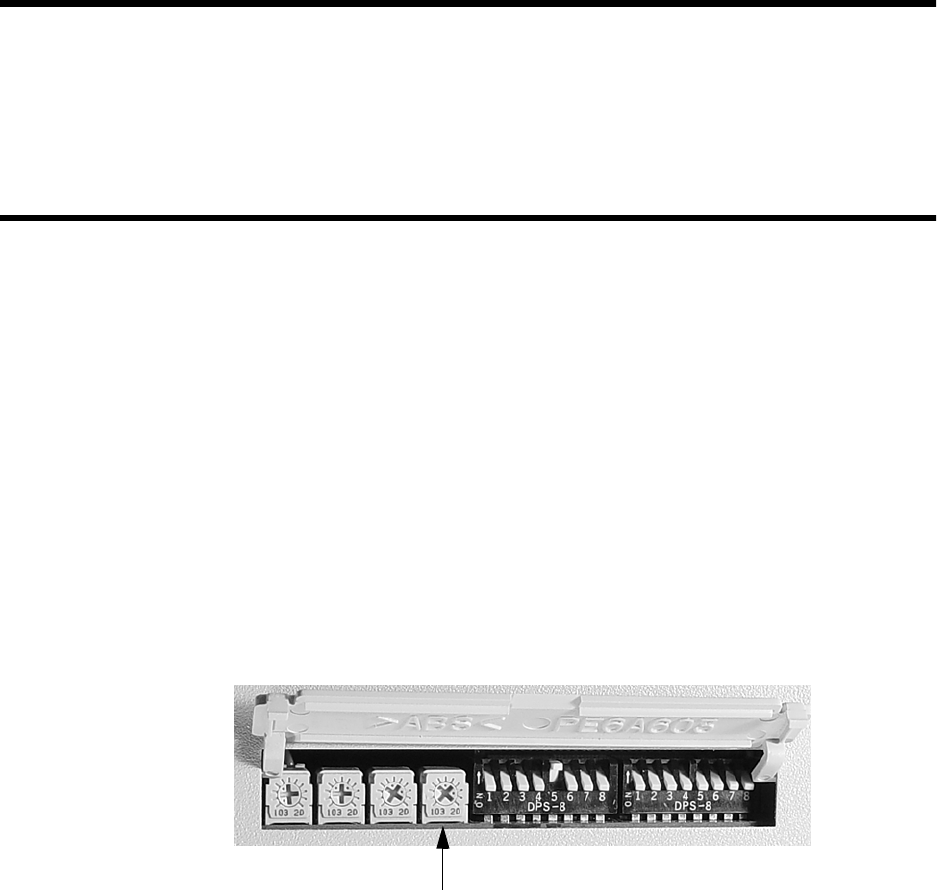
The primary adjustment for Print Darkness is the PRINT potentiometer on the Configuration
DIP Switch panel. It provides a continuous range of adjustment, allowing you to make precise
changes. Use a small cross-point screwdriver, turning clockwise for darker print and
counterclockwise for lighter print.
PRINT DARKNESS ADJUST