


17 | CHAPTER 2 – INSTALLING YOUR SMART BOARD 600I3 OR SBD600I3
INTERACTIVE WHITEBOARD SYSTEM
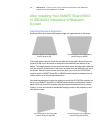
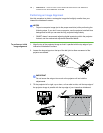
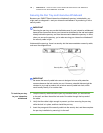
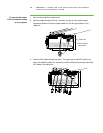
3. Adjust the projected image’s horizontal alignment by turning the projector left
or right, until the top and bottom edges of the projected image are horizontal
and parallel.
NOTE
Don’t pay attention to the position of the left and right edges relative to your
interactive whiteboard during this step.
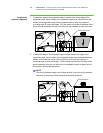
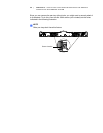
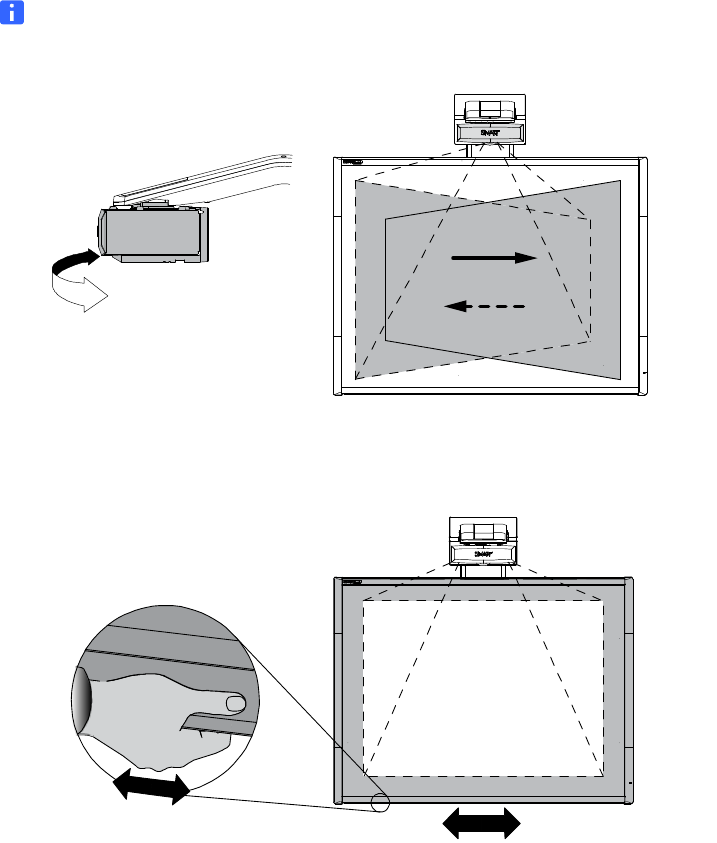
4. Move your SMART Board interactive whiteboard left or right on its mounting
bracket to center the image on your interactive whiteboard.
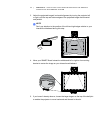
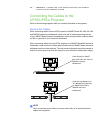
5. If you haven’t already done so, loosen the large wingnut on the top of the ball joint
to enable the projector to move backward and forward in the slot.