


14 | INSTALLING AND SECURING YOUR SMART BOARD V280 INTERACTIVE
WHITEBOARD
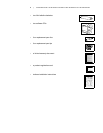
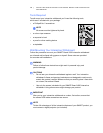
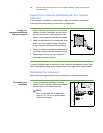
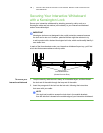
4. Using the mounting bracket as a template,
mark the location of the five mounting holes
on the wall.
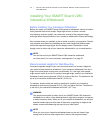
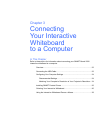
5. Use the Phillips No. 2 screwdriver to secure an included self-tapping wall anchor
at each mark.
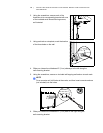
NOTE
Don’t use a hammer to tap these anchors
into the wall. If you find it impossible to
screw an anchor flush with the wall, you
might have encountered a stud. If this is the
case, you don’t need to use an anchor in
this location. The stud will provide
adequate support for the screw that
secures the bracket to the wall.
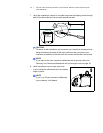
NOTES
– For a concrete wall, drill holes at the
marks, and insert concrete anchors (not included) into the holes.
– If necessary, stand on a stepladder so that you’re able to secure
the wall anchors flush with the wall.
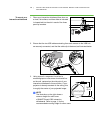
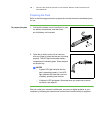
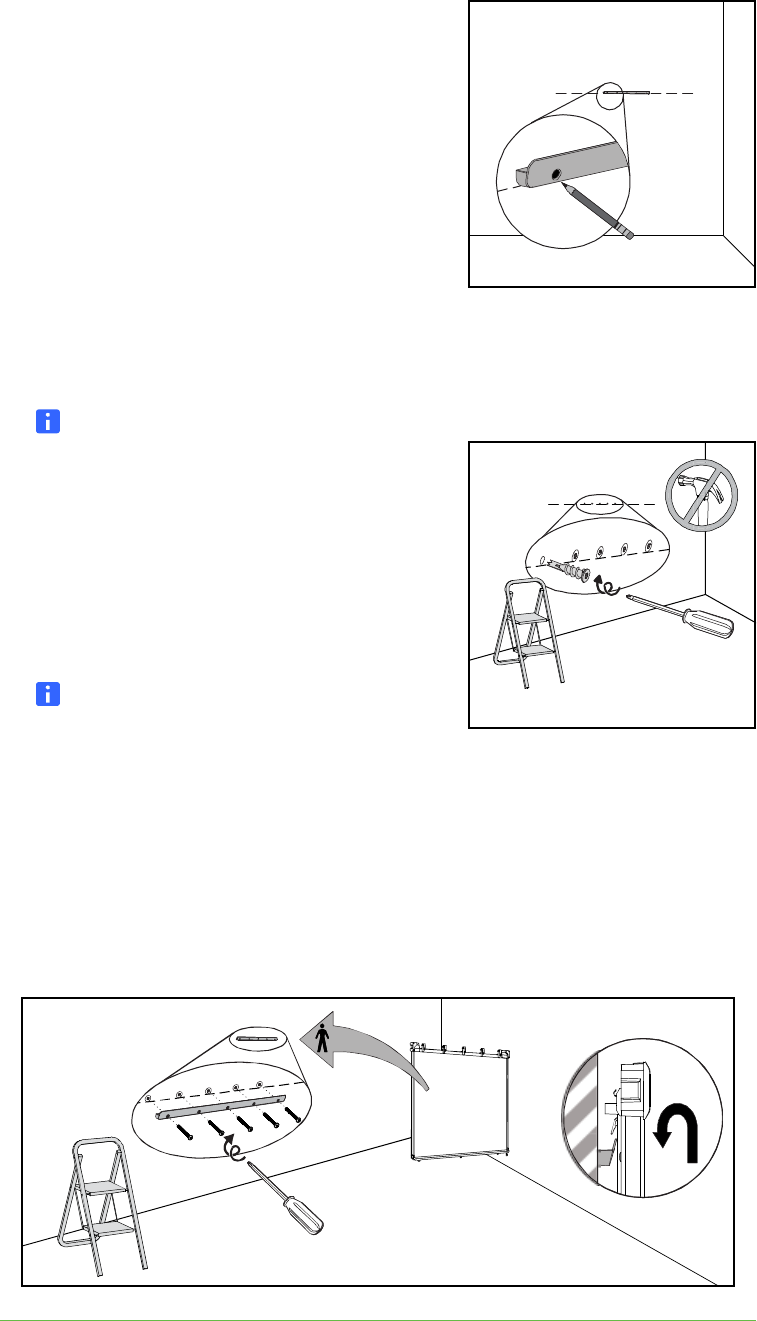
6. Using the screwdriver, secure the wall-mounting bracket to the self-tapping wall
anchors with five of the included long self-tapping screws.
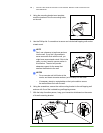
7. With the help of another person, hang your interactive whiteboard on the center
of its wall-mounting bracket.
5×
5×
5×
×2
6.
7.