


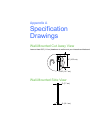

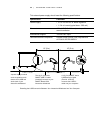
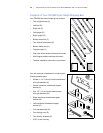


71 | MOUNTING YOUR INTERACTIVE WHITEBOARD ON A FLOOR STAND
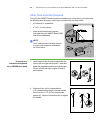
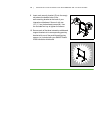
7. Secure the frame to the upright support
assembly in four places with a carriage bolt (Q)
and a locking nut (R), as illustrated. For the two
lower locations, insert the right and left
interactive whiteboard support brackets
(N and P) between the locking nut (R) and
the right or left vertical frame part, as illustrated.
Use your 7/16" (11 mm) wrench to tighten
the locking nuts.
NOTES
– Do not over-tighten these nuts.
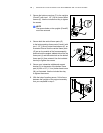
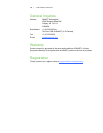
– If you secure the frame to the third hole
from the bottom on the upright support
assembly, the distance to the top
of your interactive whiteboard will be
75" (190.5 cm), which will enable you
to move your floor stand-mounted
interactive whiteboard through
an 80" (2 m) high door opening.
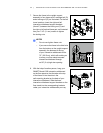
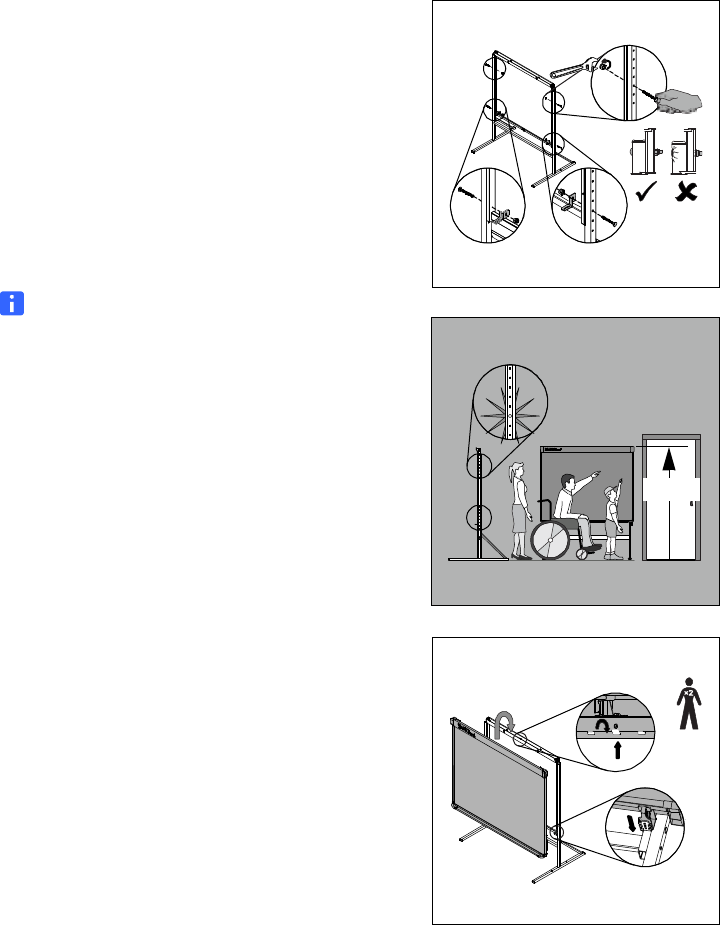
8. With the help of another person, hang your
SMART Board V280 interactive whiteboard
on the floor stand so that the tabs at the top
of the frame fit into the slots in the
wall-mounting bracket on the back of your
interactive whiteboard. Slide the three
interactive whiteboard support brackets on the
floor stand into the corresponding brackets
under your interactive whiteboard’s pen tray.
P
N
R
4×
Q
4×
3
1
2
4
5
6
7
8
75"
(190.5 cm)