Using Virtual Assist
78
SonicWALL SSL VPN 5.0 User Guide
–
Receives an email invitation from the technician and clicks on the link to launch Virtual
Assist.
–
Navigate directly to the URL of the Virtual Assist home page that is provided by the
technician.
4. The Virtual Assist application installs and runs on the customer’s system.
5. The customer appears in the Virtual Assist Assistance Queue.
6. The technician clicks on the customers name and launches a Virtual Assist session.
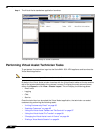
7. The technician’s Virtual Assist window now displays the customers entire display. The
technician has complete control of the customer computer’s mouse and keyboard. The
customer sees all of the actions that the technician performs.
8. If at anytime the customer wants to end the session, they can take control and click on an
End Virtual Assist button in the bottom right corner of the screen.
9. When the session ends, the customer resumes sole control of the computer.
Installing and Launching Virtual Assist
To install and launch a Virtual Assist session, perform the following steps.
Step 1 Log in to the SonicWALL SSL-VPN security appliance Virtual Office. If you are already logged
in to the SonicWALL SSL VPN customer interface, click on the Virtual Office button.
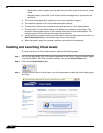
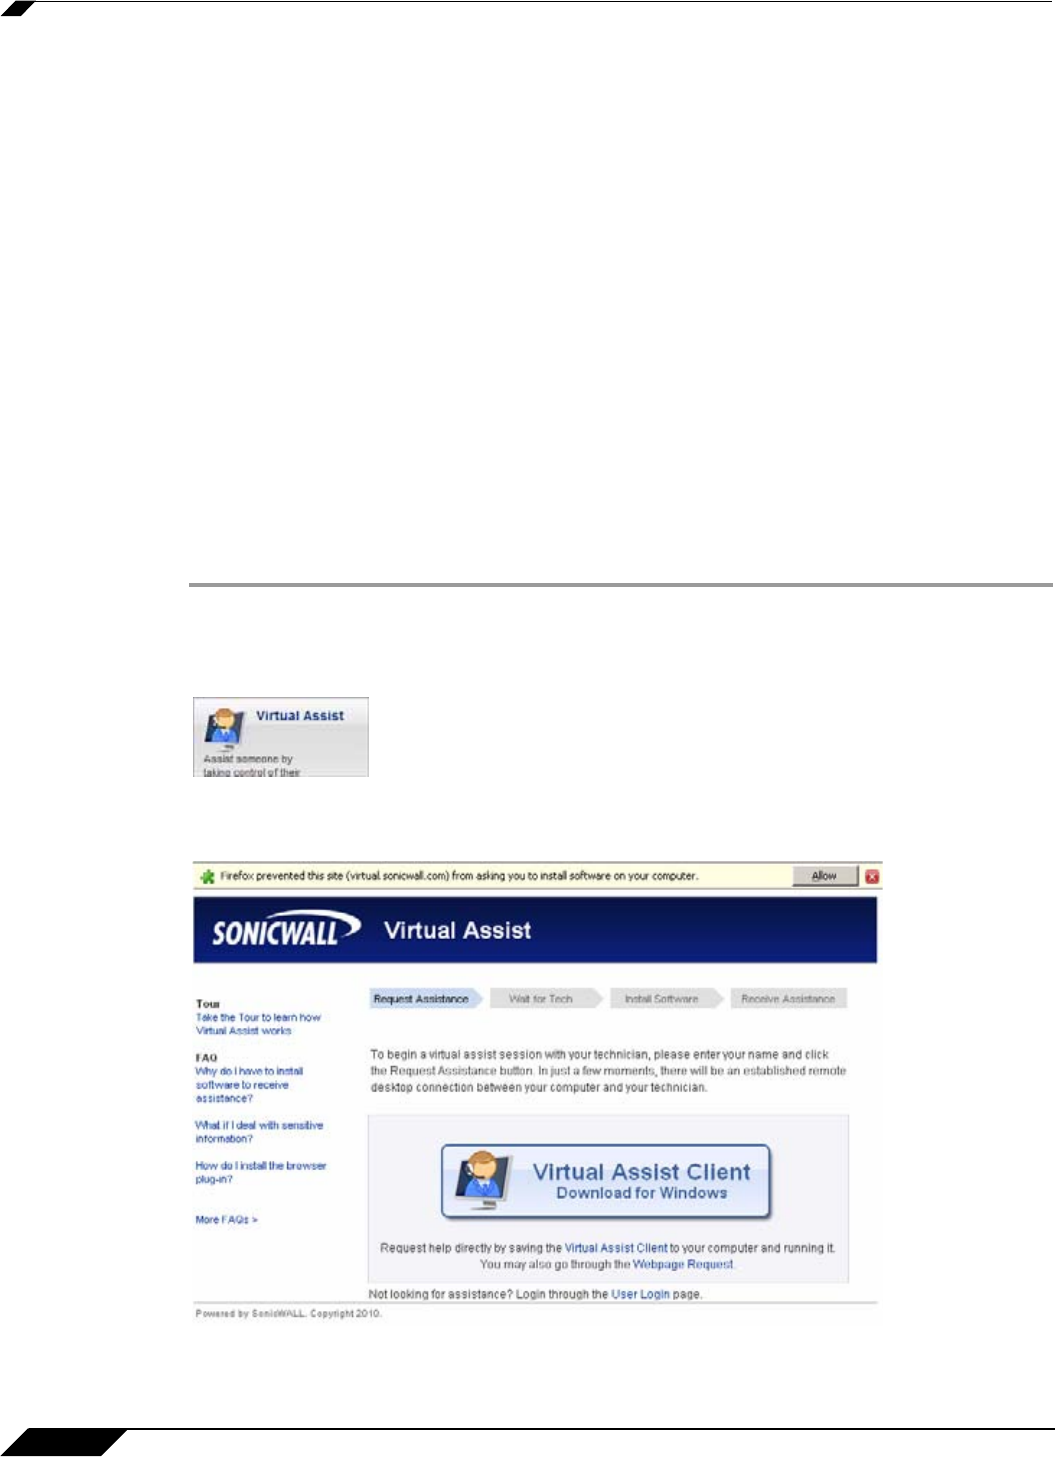
Step 2 Click on the Virtual Assist button.
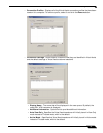
Step 3 The first time you launch Virtual Assist, you will be prompted to install the Virtual Assist plugin
and client.


