Preparations
18
2
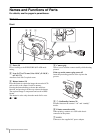
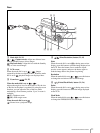
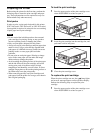
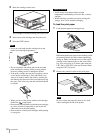
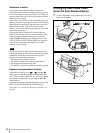
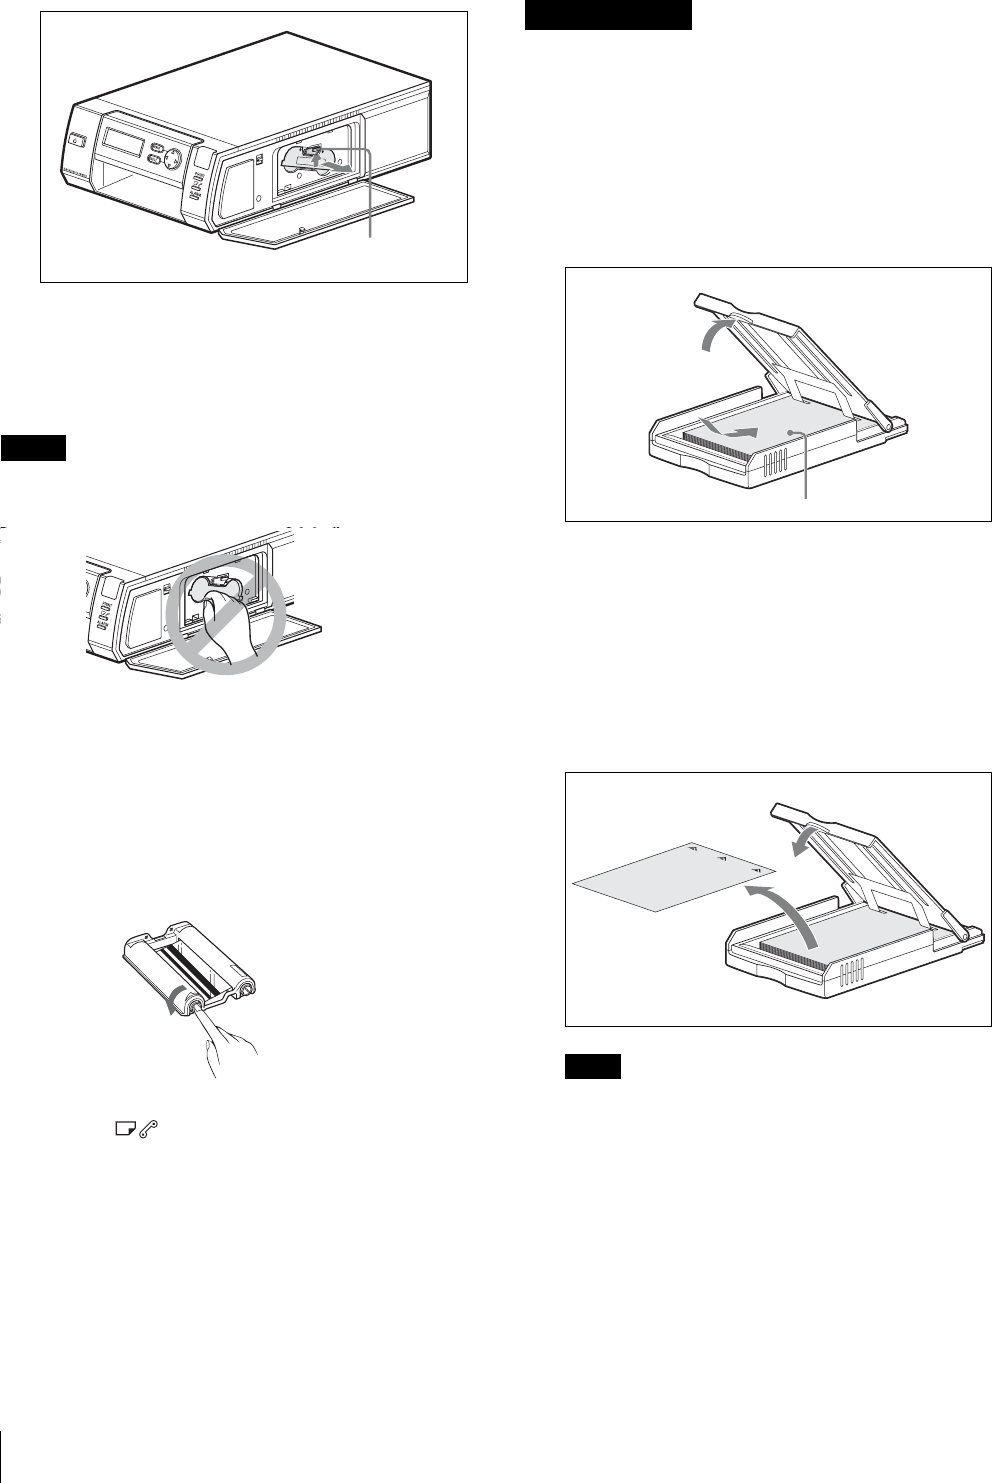
Raise the cartridge release lever.
The cartridge is released, allowing you to pull it out.
3
Insert a new print cartridge, and close the cover.
4
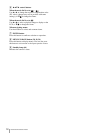
Press the EXEC button.
Notes
• Never put your hand into the cartridge slot as the
inside can reach high temperatures.
• Do not rewind the ink ribbon and use the rewound
print cartridge for printing. Doing so may produce
incorrect printing results or damage the printer.
• If the print cartridge does not insert properly, remove
it once before reinserting it. If the ink ribbon is too
slack to be loaded, remove the slack by winding the
ink ribbon in the direction of the arrow while pressing
the spool. This is the only time the ink ribbon should
be wound.
• When you turn on the printer with no print cartridge
loaded, the lamp lights.
• Do not touch the ink ribbon or place the print cartridge
in a dusty location. Fingerprints or dust on the ink
ribbon may lower the print quality.
• Do not remove or insert print cartridges while printing
is in progress.
• Avoid storage in locations subject to high
temperatures and humidity, excessive dust, or direct
sunlight.
• When removing a partially used print cartridge for
storage, store it in its original packaging.
To load the print paper
1
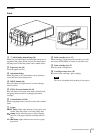
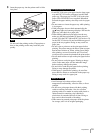
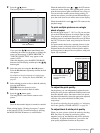
Load the print paper into the paper tray.
Riffle through the print paper before loading it with
the printing surface (the side without imprinting)
facing up. Make sure that the arrow on the paper is
pointing in the same direction as the arrow on the
tray. You can load up to 25 sheets when using the
UPC-X46 or UPC-X45 series and 30 sheets when
using the UPC-X34 series.
2
Remove the protective sheet on the print paper.
Note
Be sure to keep the protective sheet as it is used
when cleaning the inside of the printer.
Cartridge release lever
Notes on storage
Print paper


