Adjusting the Printer Picture Quality
58
MAG-GRN adjustment (G parameter)
You can adjust the magenta and green color
components. The default is 0.
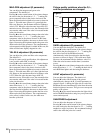
Pressing B on the control button of the printer changes
the value in the plus direction to 1, 2 … 7, making the
green component value in the picture increase in the
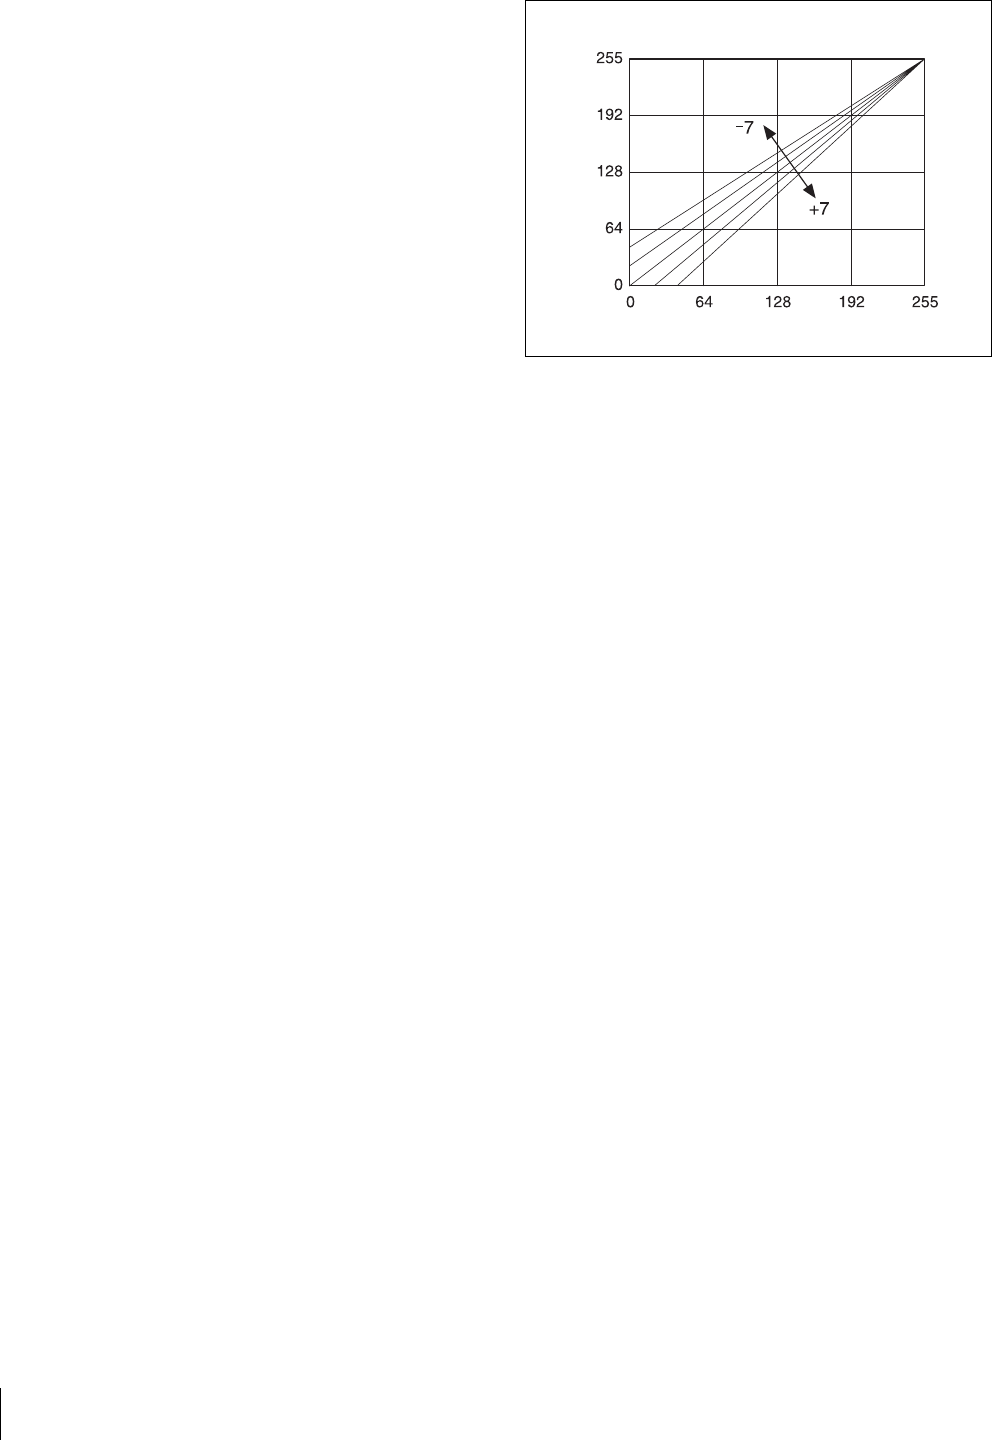
linear direction that the brightness increases as shown in
figure 1. This adds more green as if a green light has
been cast. However, the maximum effective brightness
value is 255. When the value becomes larger than 255,
saturation occurs. When this occurs, the saturated white
area remains white even if the value is increased further
in the plus direction.
Pressing b on the control button changes the value in the
minus direction to –1, –2 … –7, making the green
component value in the picture decrease in the linear
direction that the brightness decreases as shown in the
figure. Decreasing the brightness makes the green color
darker and reduces the greenness. The complementary
color magenta (reddish-purple) is added. In this case, the
white area becomes slightly magenta in color.
YEL-BLU adjustment (B parameter)
You can adjust the yellow and blue color components.
The default is 0.
Except for some special specifications, this adjustment
is not possible when B/W is selected.
Pressing B on the control button of the printer changes
the value in the plus direction to 1, 2 … 7, making the
blue component value in the picture increase in the
linear direction that the brightness increases as shown in
figure 1. This adds more blue as if a blue light has been
cast. However, the maximum effective brightness value
is 255. When the value becomes larger than 255,
saturation occurs. When this occurs, the saturated white
area remains white even if the value is increased further
in the plus direction.
Pressing b on the control button changes the value in the
minus direction to –1, –2 … –7, making the blue
component value in the picture decrease in the linear
direction that the brightness decreases as shown in the
figure. Decreasing the brightness makes the blue color
darker and reduces the blueness. The complementary
color yellow is added. In this case, the white area
becomes yellowish.
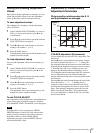
Picture quality variations when the D, L,
and Gm parameters are changed
DARK adjustment (D parameter)
You can adjust the dark parts. The default is 0.
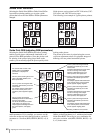
Pressing B on the control button of the printer changes
the value in the plus direction to 1, 2 … 7, making the
dark side of each of the RGB data increase
simultaneously in the linear direction that the depth
increases as shown in figure 2. This adds more depth.
However, the maximum effective darkness value is 0.
When the value becomes smaller than 0, saturation
occurs.
Pressing b on the control button changes the value in the
minus direction to –1, –2 … –7, making the dark side of
each RGB data lighter and decreasing the darkness.
LIGHT adjustment (L parameter)
You can adjust the light parts. The default is 0.
Pressing B on the control button of the printer
simultaneously changes the R, G, and B parameters as
shown in figure 1, making the light side of each of the
RGB data increase simultaneously in the linear direction
that the brightness increases. This gives an overexposed
quality to the picture.
Pressing b on the control button makes the light side of
each of the RGB data darker, and gives you a picture that
seems underexposed.
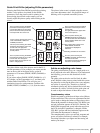
SHARPNESS adjustment
You can adjust the sharpness of pictures.
Pressing B on the control button of the printer changes
the value in the plus direction from 0 to 1, 2 … 7, adding
emphasis to edges in pictures. We recommend setting a
small value when the print size is small.
Light
Variation
Level
LightSubjectDark
Figure 2


