Menus
43
5
Press the ENTER button.
The MENU screen for Capture mode reappears.
zWhen the mode dial is set to – , the
resolution setting changes with each press of the /
button.
Recommended recording resolutions
: The optimal combination of recording resolution and print
size. This is the recommended resolution for taking a
picture when the print size is known beforehand.
a: The recording resolution is higher than required for the
print size. To store the maximum number of pictures in
memory, taking pictures at the resolution indicated by
is recommended.
f: The recording resolution is a little low for the print size,
but the print quality can be adjusted to an acceptable level.
×: The recording resolution is much too low for the print size.
Printing at this size is not recommended.
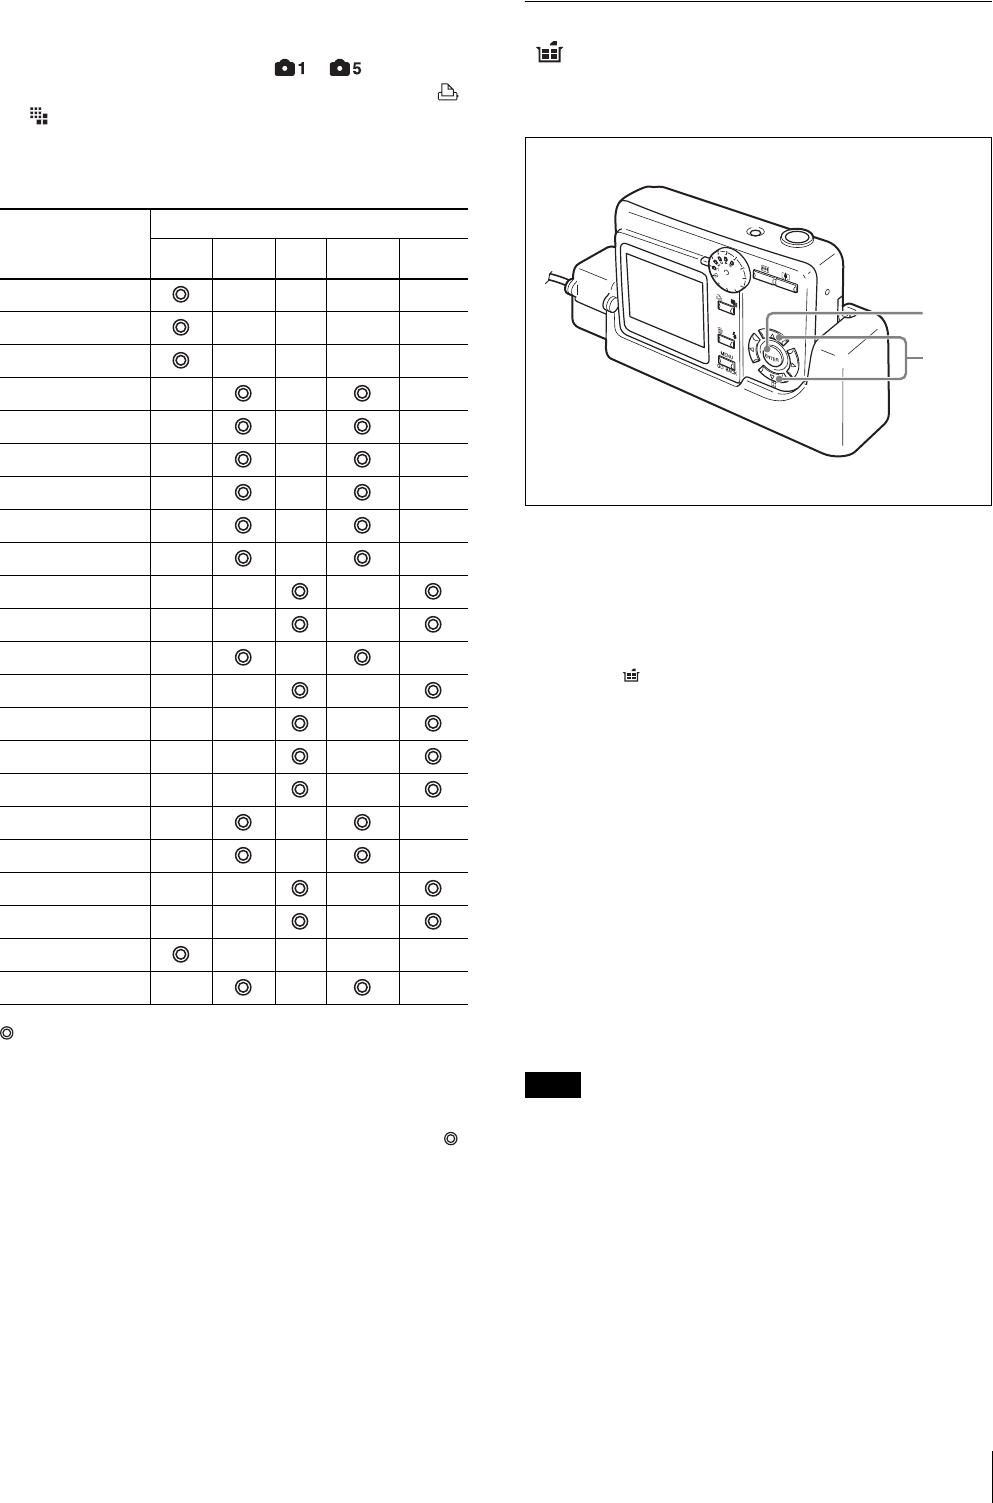
Setting the Auto Erase Mode
( AUTO ERASE)
You can select the action performed by the camera when
the memory is full.
1
Display the MENU screen in Capture mode.
For details on displaying the MENU screen, see
“Displaying the MENU Screen in Capture Mode”
on page 29.
2
Select AUTO ERASE by pressing the v or V
control button.
3
Press the ENTER button.
The AUTO ERASE screen appears.
4
Select OFF or ON by pressing the v or V control
button.
OFF: Shooting is disabled when the memory is
full.
ON: When the memory is full, stored images are
deleted automatically starting with the oldest,
and new image data is stored.
5
Press the ENTER button.
The MENU screen for Capture mode reappears.
Note
Images that are protected against deletion are not
automatically deleted.
If the memory is filled up with images that are all
protected against deletion, any further pictures taken
will not be saved, even with auto erase mode turned on.
Size No.
(see “Print Layouts”
on page 6)
Recording Resolution
FULL HIGH STD
HIGH-ID STD-ID
1
f × f ×
2
f × f ×
3
f × f ×
4
af f
5
af f
6
af f
7
af f
8
af f
9
af f
10
aa a
11
aa a
12
af f
13
aa a
14
aa a
15
aa a
16
aa a
17
af f
18
af f
19
aa a
20
aa a
21
f × f ×
22
af f
2,4
3,5


