


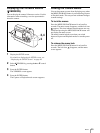
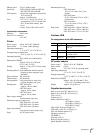
Adjusting the Printer Picture Quality
63
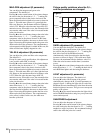
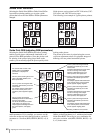
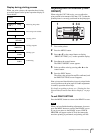
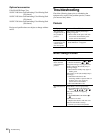
Display during printing process
When you print a picture, the operation that is being
processed appears on the printer operation display as
shown below.
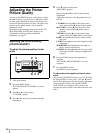
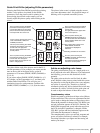
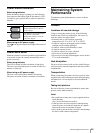
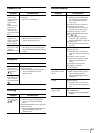
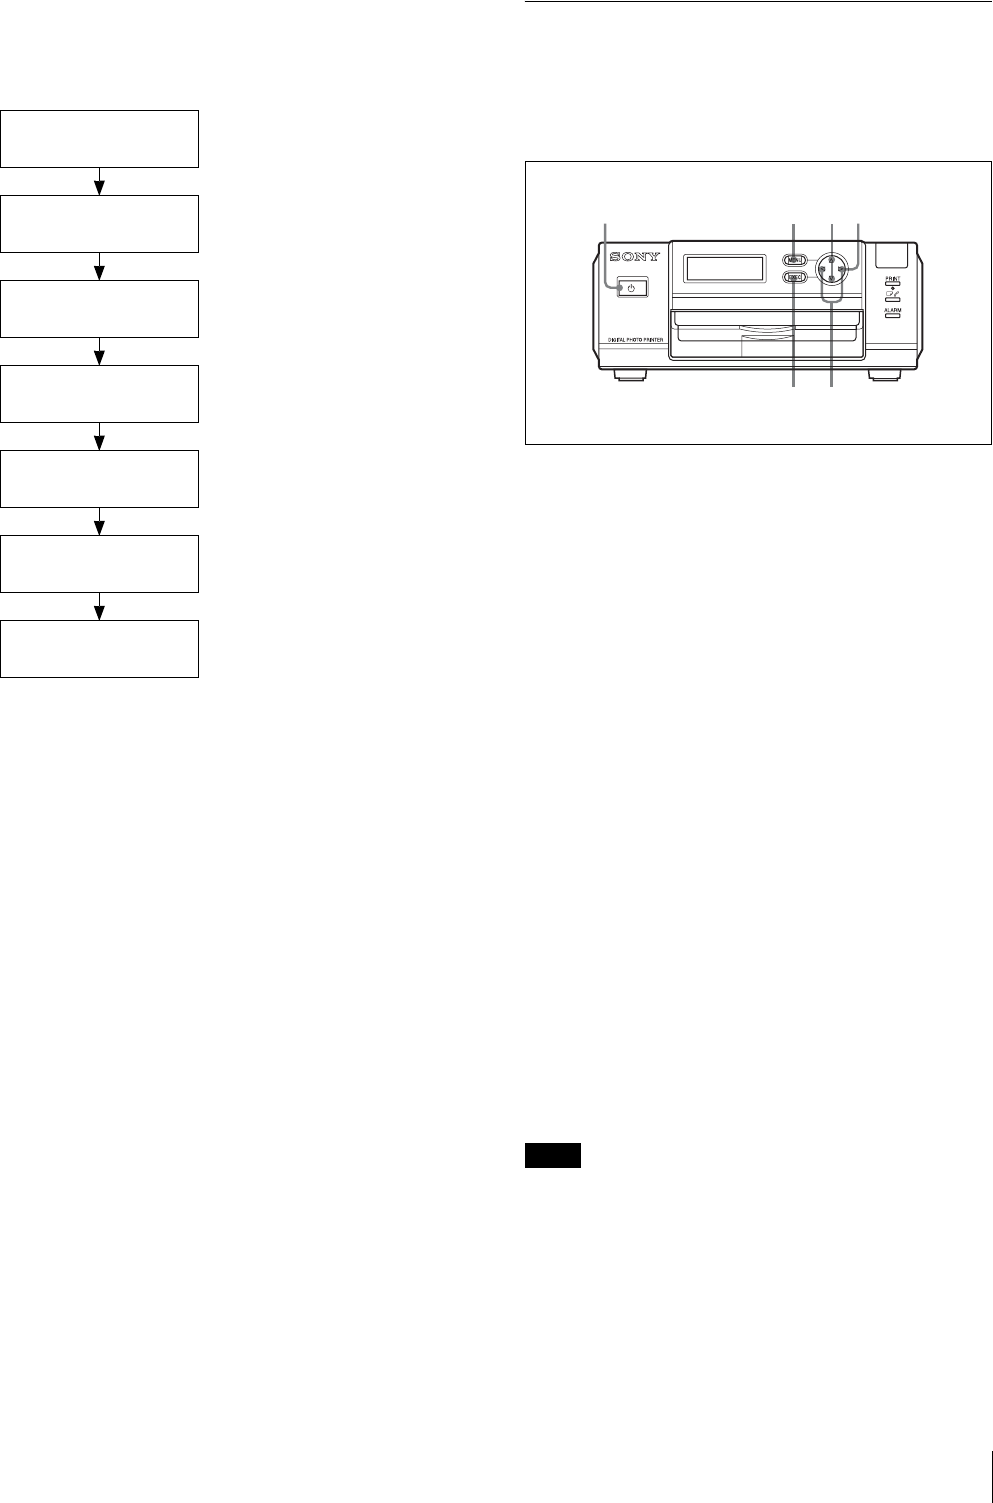
Adjusting the Print Position (PRINT
OFFSET)
When using the UPC-X46 series, you can adjust the
print position in increments of 0.5 mm (1/32") so that the
printed picture is correctly positioned on the print paper.
1
Turn on the printer.
2
Press the MENU button.
3
Press v or V on the control button to display
“PRINT SETTING [>>]” on the operation display.
4
Press B on the control button.
The PRINT OFFSET screen appears.
5
Select an offset value by pressing b or B on the
control button.
6
Press the EXEC button.
The offset value selected in step 5 is confirmed, and
the PRINT SETTING screen reappears.
Print a picture and check that the picture is printed in the
correct position on the print paper. If further adjustment
is needed, repeat the above steps.
For details on printing a picture, see “Printing the Last
Picture Taken (From the Auto-Review Display)” on page
22.
To exit PRINT SETTING
Press the MENU button to return to the READY screen.
Note
When you have finished making adjustments, be sure to
press the MENU button to return to the READY screen.
If you do not return to the READY screen, CHECK
PRINTER will appear on the LCD of the camera the
next time printing is performed, and printing will fail.
Ready
PROCESSING
Processing received data
PRINTING
[YELLOW]
Printing yellow
PRINTING
[MAGENTA]
Printing magenta
PRINTING
[CYAN]
Printing cyan
PRINTING
[LAMI]
Laminating
Receiving Image
USB [ ]
Receiving image data
234
65
1