


Menus
52
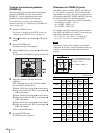
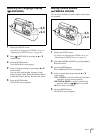
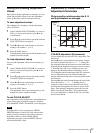
Setting the Date and Time
(DATE&TIME)
The year, month, day, and time that a picture is taken can
be recorded and then displayed during playback.
The date and time display can also be turned off.
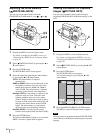
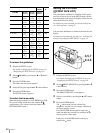
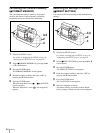
1
Display the SETUP screen.
For details on displaying the SETUP screen, see
“Displaying the SETUP Screen” on page 30.
2
Select DATE & TIME by pressing the v or V
control button.
3
Press the ENTER button.
The DATE & TIME screen appears.
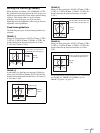
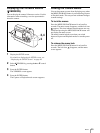
4
Select ON by pressing the V control button.
5
Set the date and time.
1) Select an item to set by pressing the b or B
control button.
2) Set the numeric value by pressing the v or V
control button.
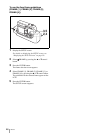
6
When you have finished configuring all the
settings, press the ENTER button.
The specified date and time are set, and the SETUP
screen reappears.
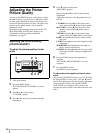
To cancel date and time setting
Press the MENU/GO BACK button.
Notes
• If this setting is OFF when a picture is taken, the date
and time are not recorded.
• To display date and time during playback, this setting
must be turned ON.
• If the camera batteries are removed and the power cord
is disconnected, your date and time settings will
remain for 15 minutes before automatically resetting.
2,4,
5
-2)
3,6
5
-1)