Operations (Shooting and Printing)
23
2
Press the / button.
The layout preview screen appears.
If you press the / button immediately after
connecting the camera to the printer or turning the
power on, the message “CHECK PRINTER” or
“CHECK CONNECTION” may appear on the
camera’s LCD.
When this happens, press the MENU/GO BACK
button to clear the display, and then press the /
button again.
3
Select the print size using the b and B buttons.
Press the b or B button repeatedly until the desired
size appears.
For details on the selected print size and picture
dimensions, see “Setting the Frame (FRAME)” on
page 45.
4
Select whether to print in color or black & white by
pressing the V button.
COLOR: Prints the picture in color.
B/W: Prints the picture in black & white.
5
Press the / button again.
The image data is sent from the camera to the
printer.
Note
Once the data transfer begins, it cannot be canceled.
When printing begins, “Printing in progress!” appears
on the camera’s LCD. Close this message by pressing
the MENU/GO BACK button or a control button.
When the mode dial is set to – , the LCD returns
to the auto-review display. Once printing ends, you can
print the same picture again at a different size, color, etc.
You can also take another picture during printing. To
take the next picture, press the release button halfway or
press the zoom lever to turn off the auto-review display.
When the mode dial is set to , the LCD returns to the
playback image.
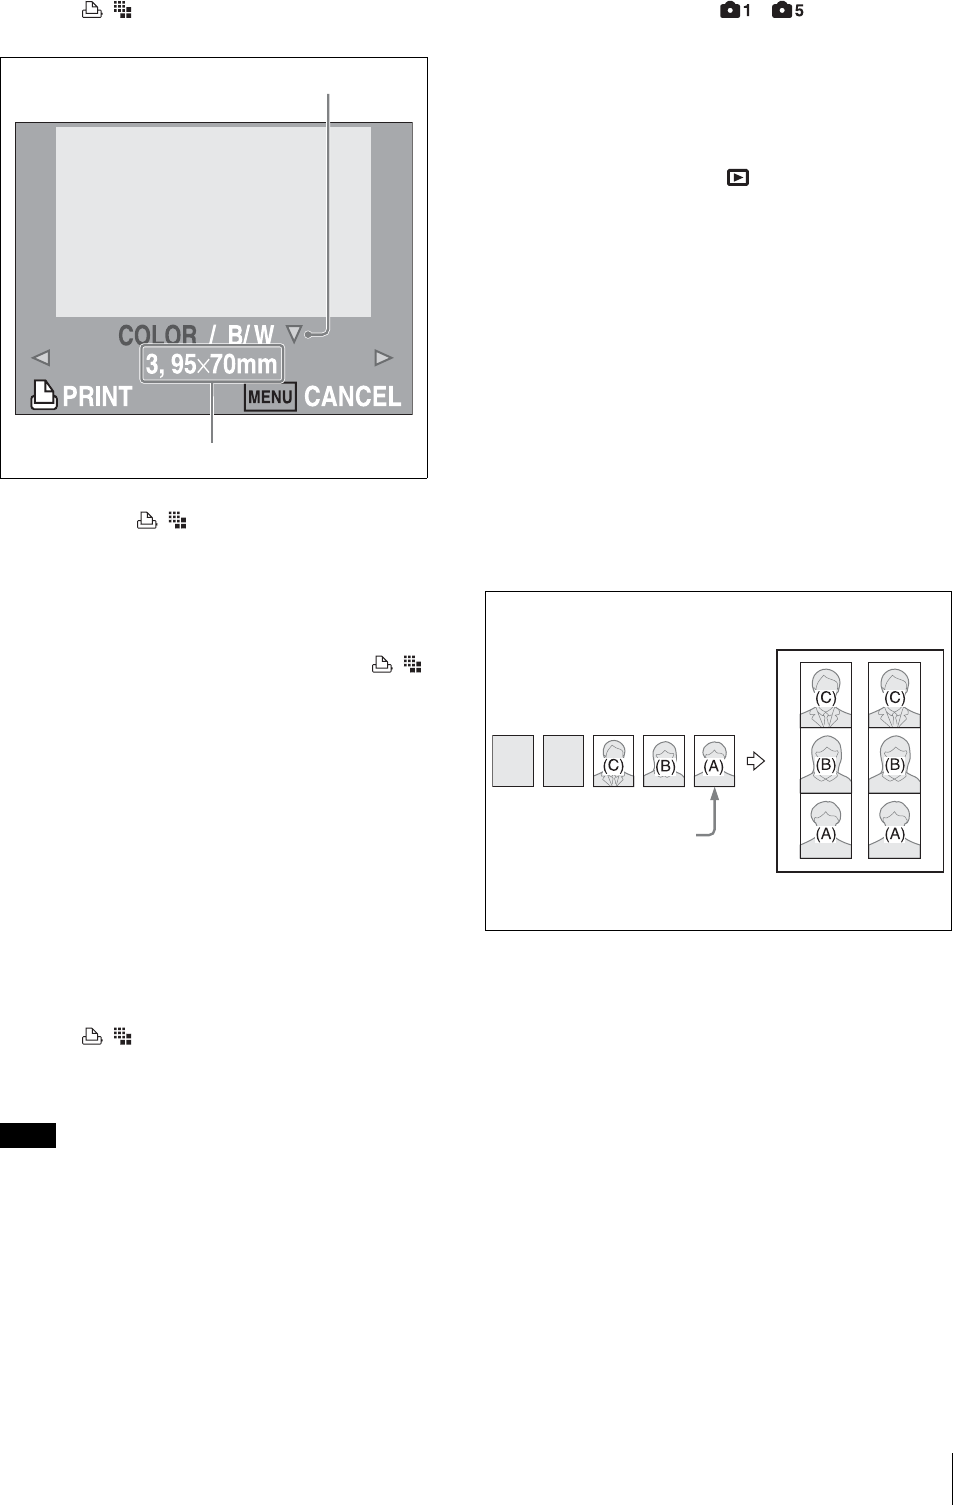
To print multiple pictures on a single
sheet of paper
By selecting print layout 17, 18, 19, or 20, you can print
two or three different pictures on a single sheet of paper.
Two pictures are printed with print layout 17, 18, or 20,
and three pictures are printed with print layout 19. When
the UPC-X34 series is used, only print layout 20 can be
selected.
In Capture mode, the last two captured pictures (or the
last three pictures, with print layout 19) are printed. In
Playback mode, the currently selected picture and the
previous picture (or the previous two pictures, with print
layout 19) are printed.
To adjust the print quality
On the printer, you can independently adjust the print
quality for color pictures and black & white pictures and
store the adjusted values. Once these values are stored,
the printer automatically selects the appropriate adjusted
value for color prints and black & white prints,
respectively.
For details on adjusting the print quality, see “Adjusting
the Picture Quality (COLOR ADJUST)” on page 56.
To adjust black & white print quality
When you print a picture in black & white by selecting
B/W, the picture is printed by overlaying yellow,
magenta, and cyan, and therefore may not be perfectly
achromatic. To adjust the black tone, you can use the
print quality adjustment function on the printer.
Print size selection
Color/Black & white selection
The last picture taken or
the picture currently
selected
Printout for print size 19


