


Menus
42
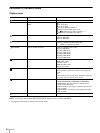
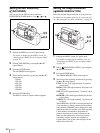
Setting the ISO Sensitivity
( ISO SPEED)
You can only set the ISO sensitivity when the
EXPOSURE & FLASH mode is set to – or .
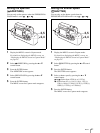
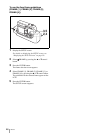
1
Display the MENU screen for Capture mode.
For details on displaying the MENU screen, see
“Displaying the MENU Screen in Capture Mode”
on page 29.
2
Select ISO SPEED by pressing the v or V
control button.
3
Press the ENTER button.
The ISO SPEED screen appears.
4
Select an ISO sensitivity by pressing the v or V
control button.
ISO 80
ISO 100
ISO 140
ISO 200
ISO 280
ISO 400
5
Press the ENTER button.
The MENU screen for Capture mode reappears.
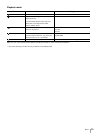
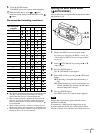
Setting the Image Resolution
( IMAGE RESOLUTION)
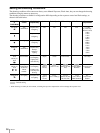
Select the optimal image resolution for your print size.
For details on the optimal print size for each print size,
see “Recommended recording resolutions” on page 43.
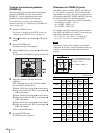
1
Display the MENU screen in Capture mode.
For details on displaying the MENU screen, see
“Displaying the MENU Screen in Capture Mode”
on page 29.
2
Select IMAGE RESOLUTION by pressing the
v or V control button.
3
Press the ENTER button.
The IMAGE RESOLUTION screen appears.
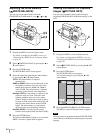
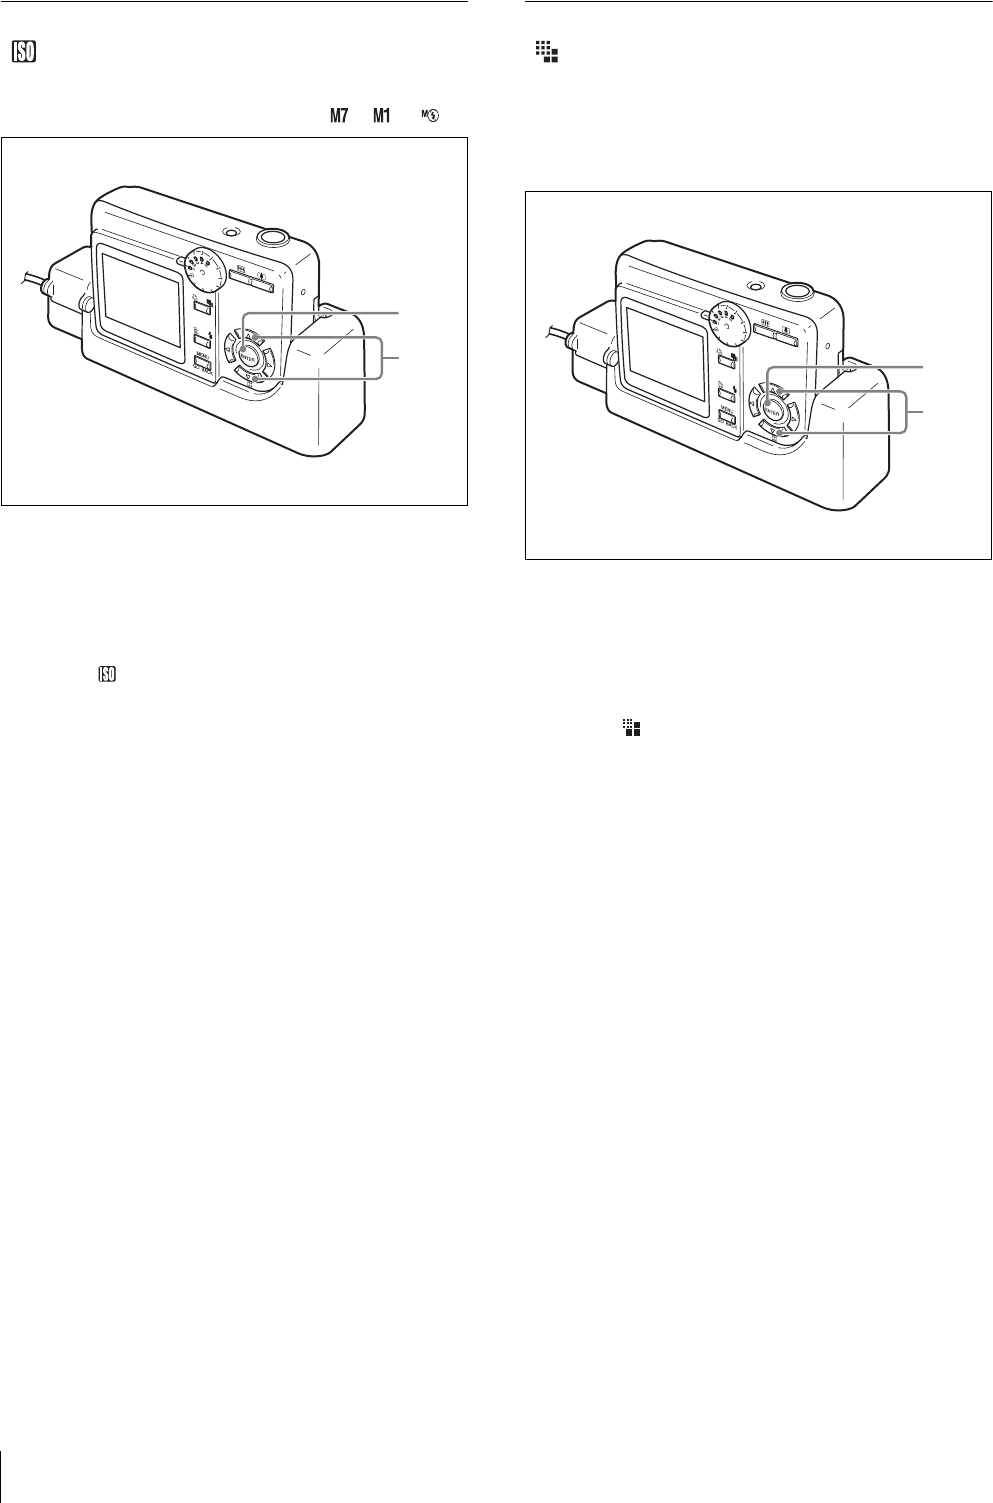
4
Select one of the following resolutions by pressing
the v or V control button.
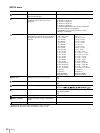
FULL: 2576 × 1932 (approximately 10 pictures
can be taken)
HIGH: 1280 × 960 (approximately 40 pictures can
be taken)
STD: 832 × 624 (approximately 73 pictures can be
taken)
HIGH-ID: 1280 × 960 (approximately 40 pictures
can be taken)
STD-ID: 832 × 624 (approximately 73 pictures can
be taken)
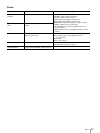
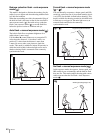
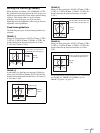
When HIGH-ID or STD-ID is selected, the angle of
view switches to a display suitable for ID portraits,
and guidelines (FRAME) can be displayed to help
align the position of a subject’s face when shooting.
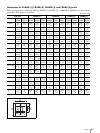
Under normal circumstances, the number of
pictures listed above for each resolution can be
taken, but the number may decrease if pictures
containing complex patterns are included. In
Capture mode, refer to the value displayed at the
bottom left of the LCD.
2,4
3,5
2,4
3,5