1 TROUBLESHOOTING FOR THE HARDWARE
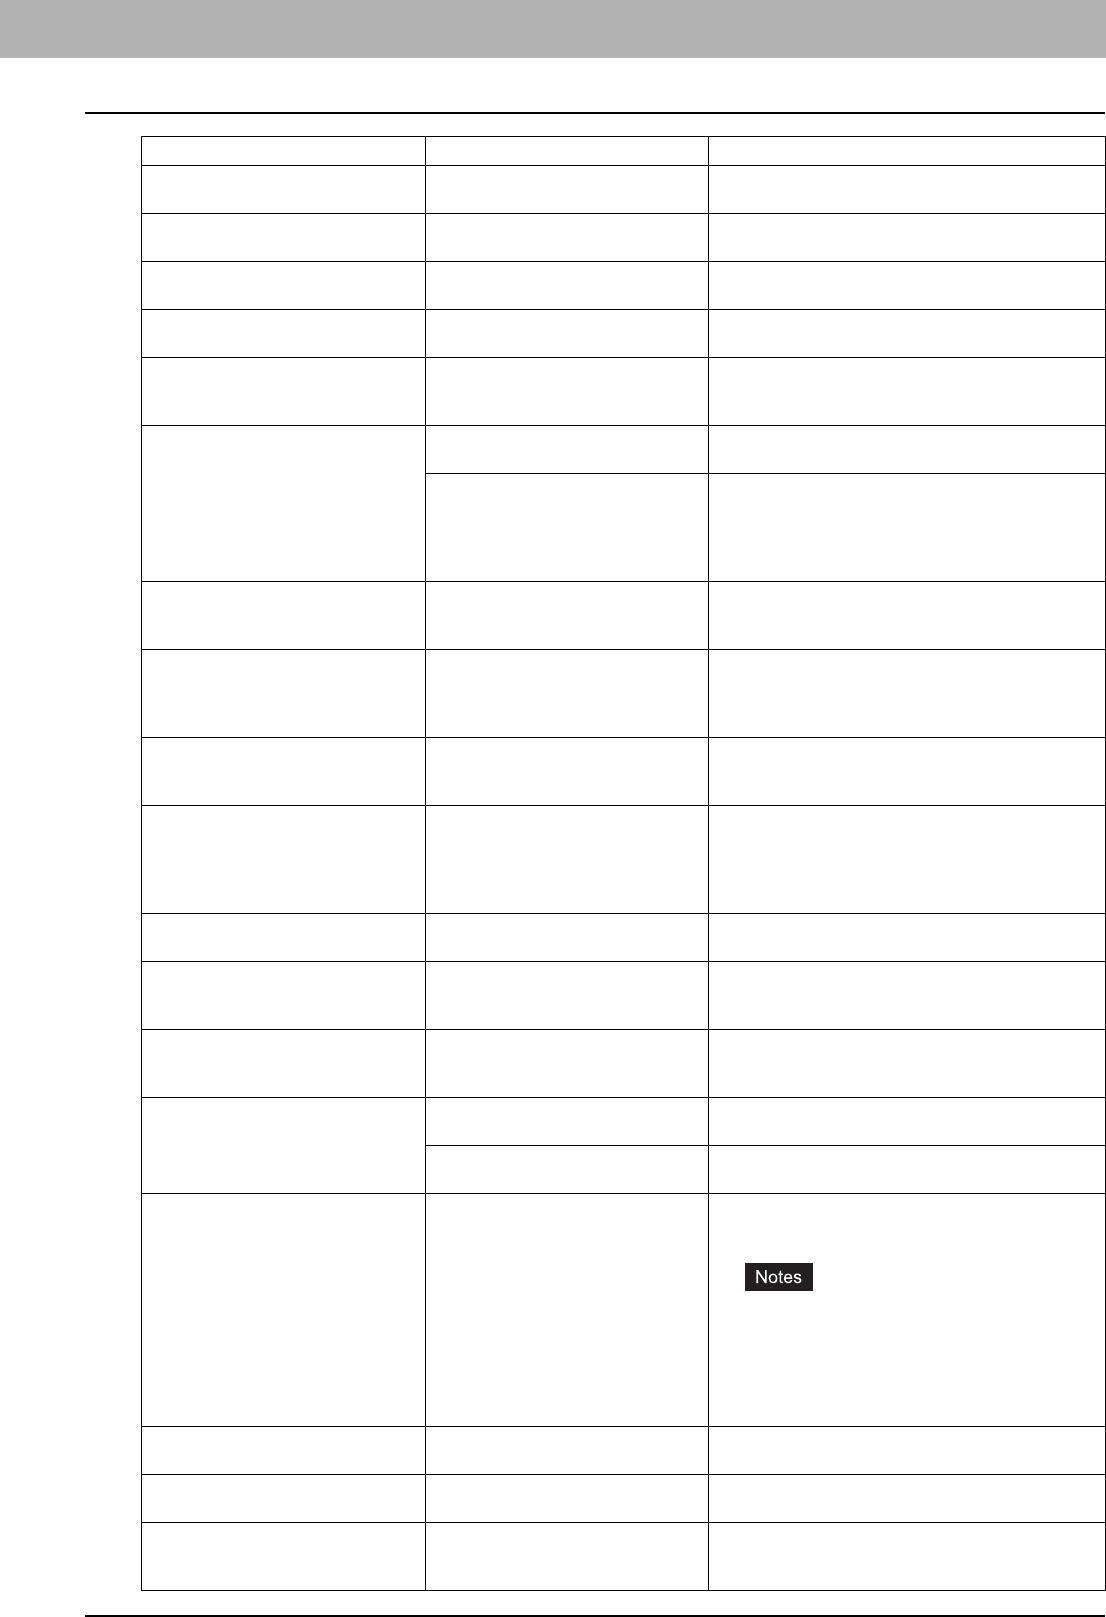
Messages Displayed on the Touch Panel 9
Examine stapler in the Saddle Stitch
unit
Staple jam has occurred in the stapler
of the saddle stitch unit.
Remove the jammed staples.
P.50 “Staple jam in the saddle stitch unit”
Check staple cartridge in the Saddle
Stitch unit
No staples are left in the stapler of the
saddle stitch unit.
Refill the staples.
P.59 “Refilling With Staples”
Check staple cartridge No staples are left in the stapler of the
finisher.
Refill the staples.
P.59 “Refilling With Staples”
Examine Stapler Staple jam has occurred in the stapler
of the finisher.
Remove the jammed staples.
P.43 “Clearing a Staple Jam”
Saving energy Press START button The equipment has entered into the
energy saving mode since it has not
been used for a certain time.
Press any of the [START], [COPY], [e-FILING],
[SCAN], [PRINT], [FAX] and [ENERGY SAVER]
buttons to clear the energy saving mode.
CHANGE DRAWER TO CORRECT
PAPER SIZE
No paper suitable for the original is
set.
Place the suitable size paper for the original in the
drawer.
The size of the original is not detected
correctly because the original is sent
from the Reversing Automatic
Document Feeder (optional) at a
skew.
Replace the original while aligning the side guides of
the Reversing Automatic Document Feeder to its
width so that it will be placed straight.
Time for periodic maintenance The equipment requires inspection
and maintenance by a service
technician.
Contact your service representative for maintenance.
POWER FAILURE A job was interrupted by a power
failure or some other reason.
The print or fax job may be incomplete. Press [JOB
STATUS] to check whether any jobs are unfinished.
To clear the messages, press the [FUNCTION
CLEAR] button twice.
ERASING DATA The Data Overwrite Enabler is
clearing the data.
This message is displayed if the Data Overwrite
Enabler (optional) is installed. You can operate the
equipment while the message is displayed.
Check paper size setting on control
panel for Bypass
Paper jam has occurred because of a
mismatch between the paper size
placed in the bypass tray and the size
registered for the bypass tray in the
equipment.
Register the paper size correctly. Just releasing the
paper jam does not prevent another paper jam.
P.38 “Clearing paper jams caused by a wrong
paper size setting”
Set the paper on the bypass tray
again.
The paper placed on the bypass tray
jammed.
Remove the jammed paper and set the paper again.
Check the direction or size of the
paper on the bypass tray and press
START
The direction or the size of the paper
placed on the bypass tray is incorrect.
Check the direction and the size of the paper and then
replace it on the bypass tray.
Reboot the machine An error has occurred in the
equipment and it stopped normal
operation.
Rebooting the equipment may correct the error. To
reboot the equipment, turn the main power switch off
and then on.
TONER NOT RECOGNIZED The toner cartridge is not installed. Or
it is not installed correctly.
Install the toner cartridge correctly.
P.53 “Replacing a Toner Cartridge”
A toner cartridge not recommended
by TOSHIBA is being used.
Use a TOSHIBA-recommended toner cartridge.
P.53 “Replacing a Toner Cartridge”
Toner near Empty Toner is running out. Prepare a new toner cartridge.
(About another 1000 copies, set at the time of
shipment, can be made after this message appears.)
y Replace a toner cartridge after the message
“Install new toner cartridge” is displayed.
y If you replace a toner cartridge with a new one
while some toner is still left, make sure you
follow the procedure P.57 “Replacing a
“Near Empty” toner cartridge”.
Install new toner cartridge No toner is left. Replace the toner cartridge.
P.53 “Replacing a Toner Cartridge”
Please Empty Hole Punch Waste The Hole Punch Unit dust bin is full. Remove the paper punchings.
P.70 “Cleaning the Hole Punch Dust Bin”
Not enough Work Space to store
originals
Will you print out stored originals?
Internal memory available ran out
while scanning.
To print out the data for the originals stored (scanned)
until the message appeared, press [YES] on the touch
panel. To delete the stored data, press [NO].
Message Problem Description Corrective Action


