2 Troubleshooting Procedures 2.3 Power Supply Troubleshooting
Procedure 3 Connection Check
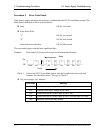
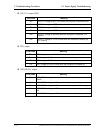
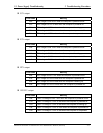
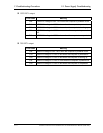
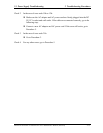
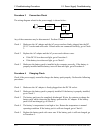
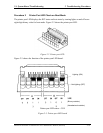
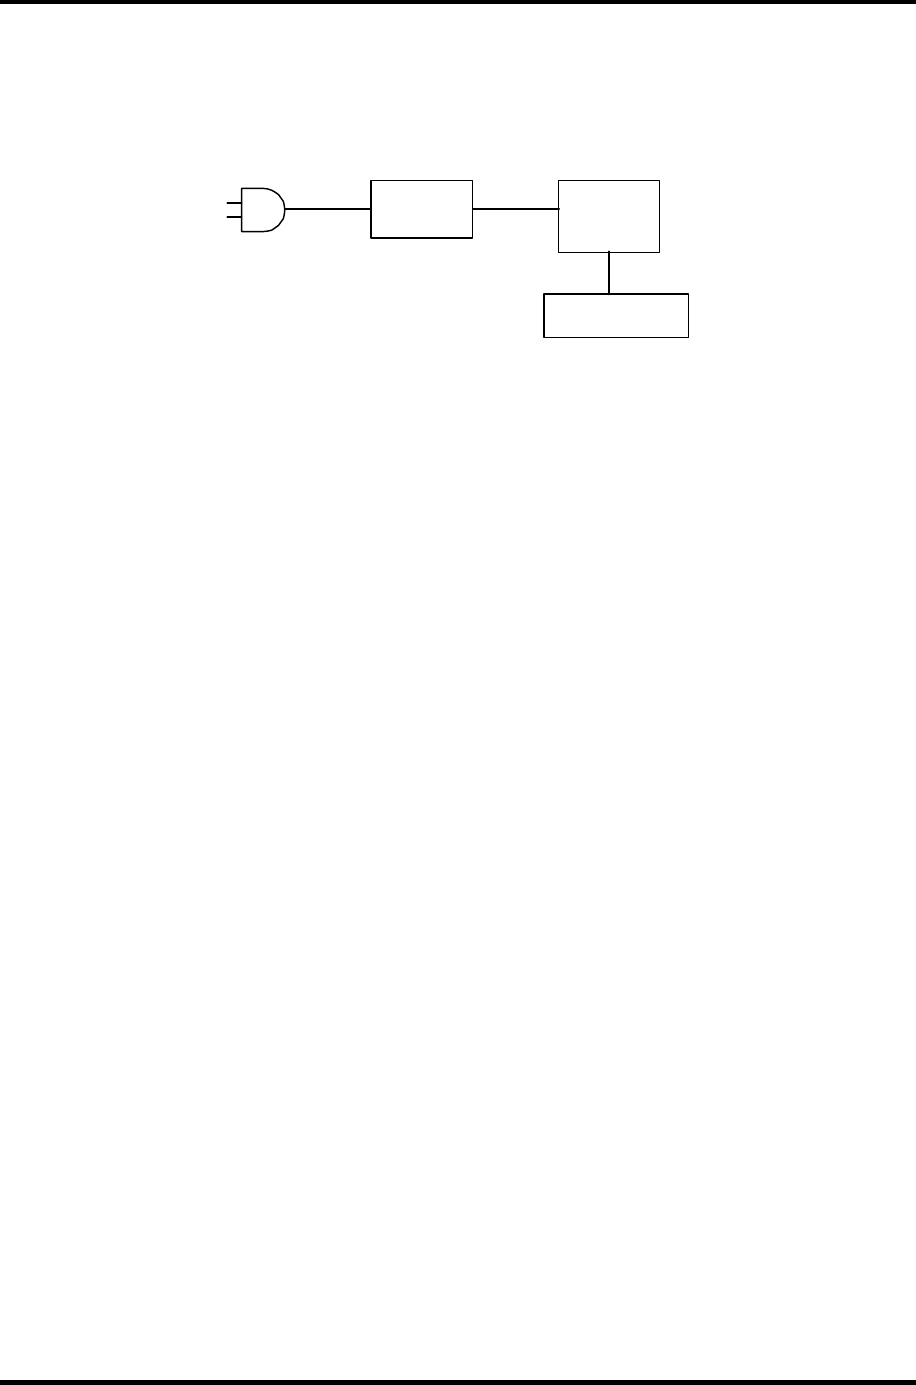
The wiring diagram related to the power supply is shown below:
Battery pack
System
Board
Power
Cord
AC
adapter
Any of the connectors may be disconnected. Perform Check 1.
Check 1 Make sure the AC adapter and the AC power cord are firmly plugged into the DC
IN 15 V socket and wall outlet. If these cables are connected correctly, go to Check
2.
Check 2 Replace the AC adapter and the AC power cord with new ones.
• If the DC IN icon does not light, go to Procedure 5.
• If the battery icon does not light, go to Check 3.
Check 3 Make sure the battery pack is installed in the computer correctly. If the battery is
properly installed and the battery icon still does not light, go to Procedure 4.
Procedure 4 Charging Check
Check if the power supply controller charges the battery pack properly. Perform the following
procedures:
Check 1 Make sure the AC adapter is firmly plugged into the DC IN socket.
Check 2 Make sure the battery pack is properly installed. If the battery is properly installed,
go to Check 3.
Check 3 The battery pack may be completely discharged. Wait a few minutes to charge the
battery pack while connecting the battery pack and the AC adapter. If the battery
pack is still not charged, go to Check 4.
Check 4 The battery’s temperature is too high or low. Return the temperature to normal
operating condition. If the battery pack is still not charged, go to Check 5.
Check 5 Replace the battery pack with a new one. If the battery pack is still not charged, go
to Procedure 5.
2-14 Satellite A10/TECRA A1/Satellite Pro A10 Maintenance Manual (960-445)


