19
Sending E-mail by Searching E-mail Addresses - continued
Searching for an E-mail address - continued
3
Search from Local Adressess - continued
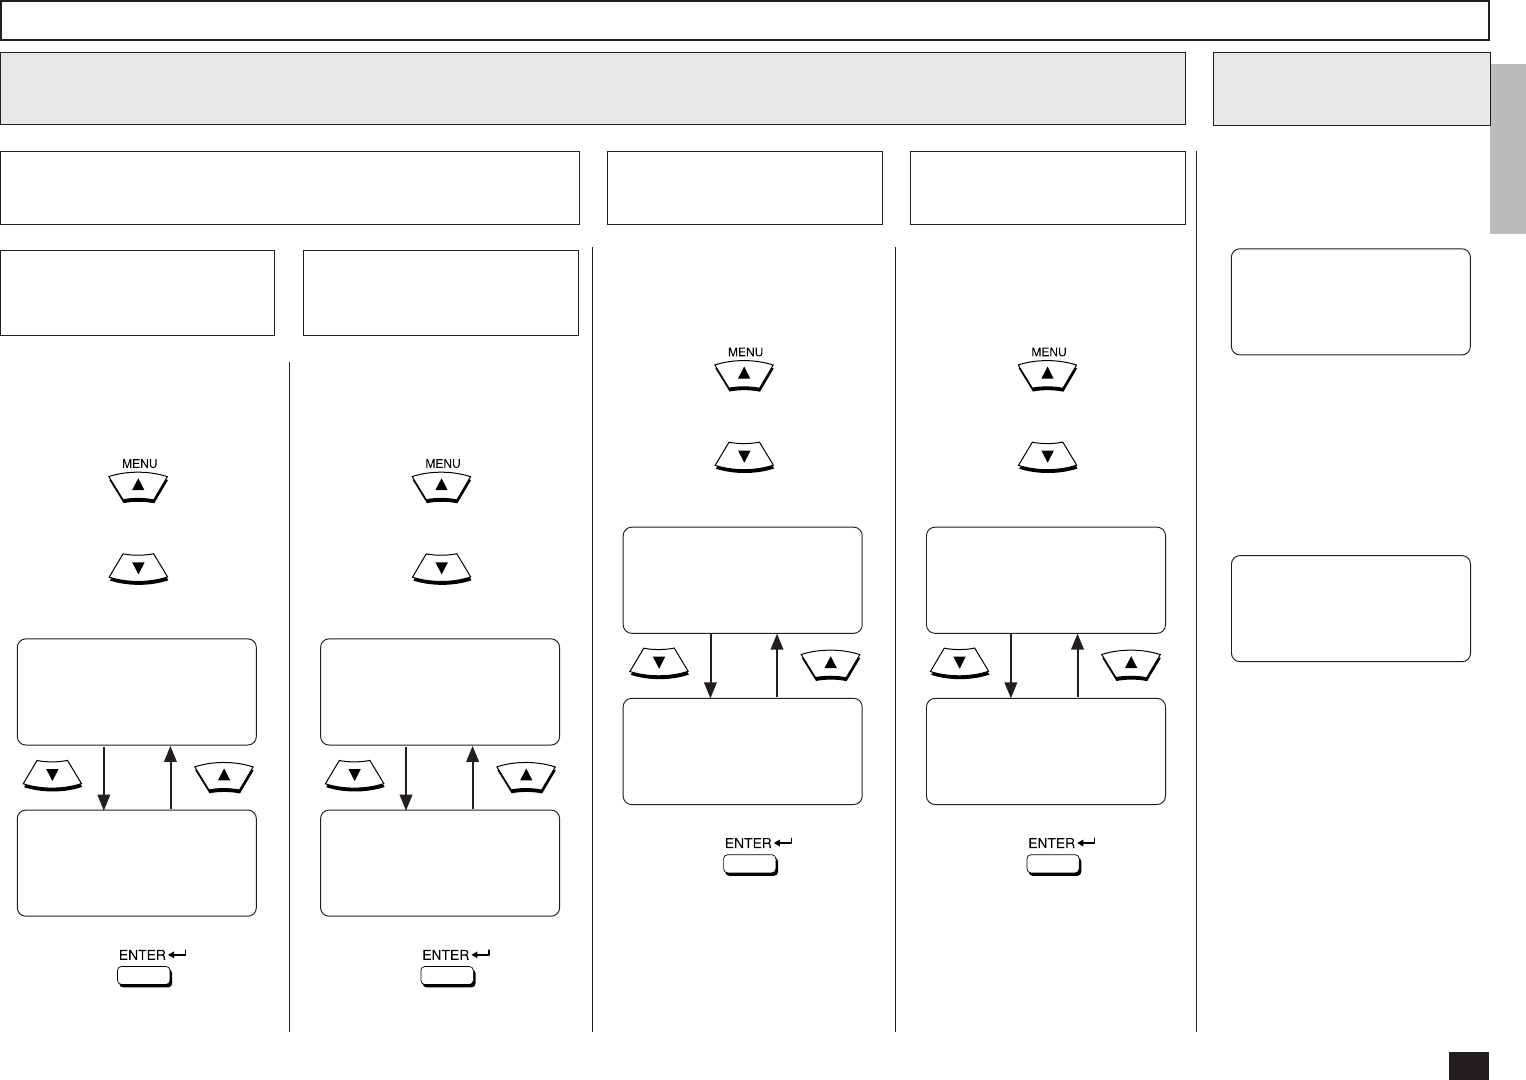
3b
Locate the screen of the de-
sired E-mail address using the
following scroll keys.
(for the previous screen)
(for the next screen)
3b-5
Select the E-mail
address
SEARCH E-MAIL
[STOP]:TO PREVIOUS
001@toshiba.com
[ ] 00001/00015
SEARCH E-MAIL
[STOP]:TO PREVIOUS
002@toshiba.com
[ ] 00002/00015
↑↓
Then press:
Skip to Step 4.
Select from Reception
History
3c
Locate the screen of the de-
sired E-mail address using the
following scroll keys.
(for the previous screen)
(for the next screen)
RECEPTION HISTORY
[STOP]:TO PREVIOUS
001@toshiba.com
[ ] 00001/00015
RECEPTION HISTORY
[STOP]:TO PREVIOUS
002@toshiba.com
[ ] 00002/00015
↑↓
↑↓
Then press:
Skip to Step 4.
Locate the screen of the de-
sired E-mail address using the
following scroll keys.
(for the previous screen)
(for the next screen)
3b-6
Select the E-mail
address
ALL ADDRESS
[STOP]:TO PREVIOUS
001@toshiba.com
[ ] 00001/00015
ALL ADDRESS
[STOP]:TO PREVIOUS
002@toshiba.com
[ ] 00002/00015
↑↓
↑↓
Then press:
Skip to Step 4.
Select from Sent
History
3c
Locate the screen of the de-
sired E-mail address using the
following scroll keys.
(for the previous screen)
(for the next screen)
SENT HISTORY
[STOP]:TO PREVIOUS
001@toshiba.com
[ ] 00001/00015
SENT HISTORY
[STOP]:TO PREVIOUS
002@toshiba.com
[ ] 00002/00015
↑↓
↑↓
Then press:
Skip to Step 4.
Scan the document
4
Your machine will automatically
start scanning the document
into memory (if enabled).
If the document is not loaded in
the Document Tray, the follow-
ing screen is displayed.
LOAD DOCUMENT
SCANNING INTO MEMORY
FILE NUMBER= 007
RESIDUAL MEMORY 98%
SCANNING PAGE : 003
After scanning, the machine
starts transmission.
Load the document in the
Document Tray. Then your
machine will automatically
starts scanning the document.


