39
Searching for an E-mail address
8
One Touch Dialer Registration - continued
To select the Local Addresses,
press:
To select the Reception His-
tory, press:
To select the Sent History,
press:
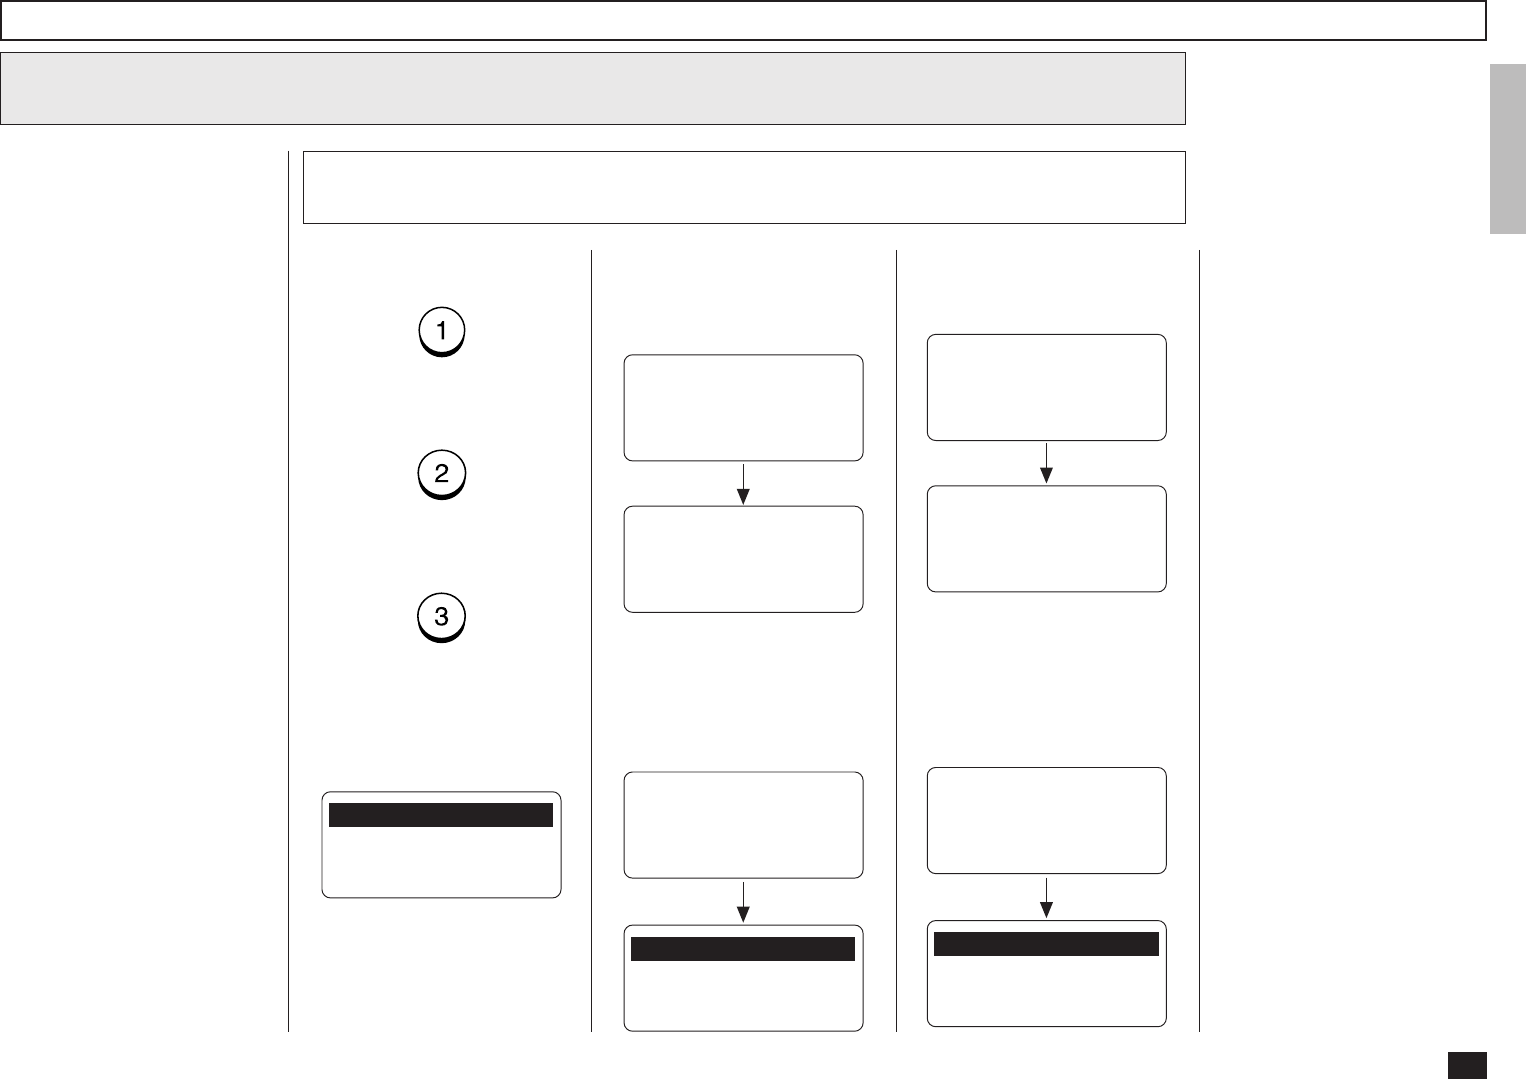
When “1.LOCAL ADDRESSES”
is selected, the following
screen appears. Continue to
the next step.
Select the search category
8a
This operation is to search for
an E-mail address and modify it
to a new E-mail address.
You can search for an E-mail
address in the following catego-
ries.
Local Addresses:
You can search for an E-mail
address that is assigned to
Abbreviated Dial Numbers
or One Touch Dial Keys.
Reception History:
You can search for an E-mail
address which the machine
has received the E-mails
from.
Sent History:
You can search for an E-mail
address which the machine
has sent E-mails to.
1.SEARCH NAME
2.SEARCH E-MAIL ADDR
3.ALL
When “2.RECEPTION HIS-
TORY” is selected, the follow-
ing screen appears. Skip to
Step 8c.
Searching ends.
RECEPTION HISTORY
[STOP]:TO PREVIOUS
001@toshiba.com
[ ] 00001/00050
RECEPTION HISTORY
NOW SEARCHING
When “2.RECEPTION HIS-
TORY” is selected but no E-
mail address can be matched,
the display indicates the follow-
ing screen and returns to the
first screen in this step.
↑↓
After 2 seconds:
1.LOCAL ADDRESSES
2.RECEPTION HISTORY
3.SENT HISTORY
RECEPTION HISTORY
E-MAIL ADDRESS:
--------------------
When “3.SENT HISTORY” is
selected, the following screen
appears. Skip to Step 8d.
Searching ends.
SENT HISTORY
[STOP]:TO PREVIOUS
001@toshiba.com
[ ] 00001/00050
SENT HISTORY
NOW SEARCHING
When “3.SEND HISTORY” is
selected but no E-mail address
can be matched, the display in-
dicates the following screen
and returns to the first screen
in this step.
↑↓
After 2 seconds:
1.LOCAL ADDRESSES
2.RECEPTION HISTORY
3.SENT HISTORY
SENT HISTORY
E-MAIL ADDRESS:
--------------------
