


24 GL-1010 Network Fax Operator’s Guide
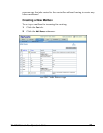
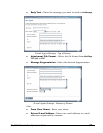
3 Click
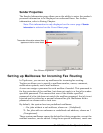
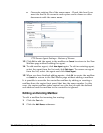
New. The New Mailbox page opens.
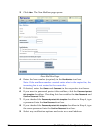
New Mail Box Page
4 Enter the box number (required) in the Box Number text box.
Note: If the mailbox number created exists also in the copier fax, the
incoming fax is not routed to the controller.
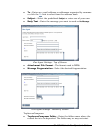
5 If desired, enter the Owner and Comment in the respective text boxes.
6 If you want to password protect this mailbox, click the
Password protect
this template
checkbox. Checking this box enables the New Password and
Confirm Password fields.
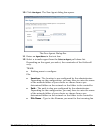
7 If you checked the
Password protect this template checkbox in Step 6, type
a password into the
New Password text box.
8 If you checked the Password protect this template checkbox in Step 6, type
the same password into the
Confirm Password text box.
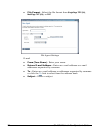
9 Select any notification options and enter an e-mail address.