


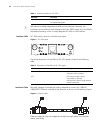
Installation/Removal of a SIC/MIM/FIC 17
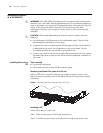
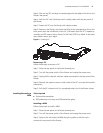
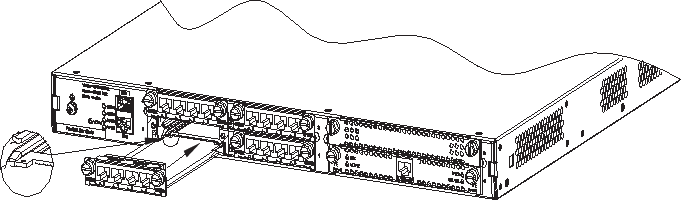
Step 3: Take out the SIC and align its remote edge with the edge of the slot on the
Router’s rear panel;
Step 4: Push the SIC into the Router until it closely mates with the rear panel of
the Router;
Step 5: Fasten the SIC into the Router with captive screws;
Step 6: Power on the Router, and check the LEDs of the corresponding slot on the
front panel: after the initialization of the SIC, ON means that the SIC is operating
normally and OFF means that its Power-On Self-Test (POST) has failed. In the latter
case, please contact your agent.
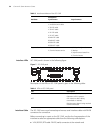
Figure 2 Installing SIC
Removing a SIC
Follow these steps to remove a SIC:
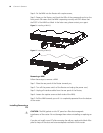
Step 1: Place the rear panel of the Router towards you;
Step 2: Turn off the power switch of the Router and unplug the power cord;
Step 3: Unplug all the network interface cables connected to the rear panel of the
Router;
Step 4: Remove the captive screws on both sides of the SIC using the flat-module
screwdriver;
Step 5: Pull the SIC outward until it is completely taken out of the Router chassis.
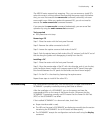
Installing/Removing a
MIM
Tools required
■ Flat-module screwdriver
■ ESD-preventive wrist strap and ESD-preventive glove
Installing a MIM
Follow these steps to install a MIM:
Step 1: Place the rear panel of the Router towards you;
Step 2: Turn off the power switch of the Router and unplug the power cord;
Step 3: Select a slot and insert the MIM along the guides in the slot until it
contacts the rear panel of the Router;