Alpha 583cx User’s Guide 25
Setting Clerk Numbers and Names
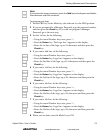
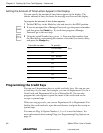
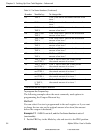
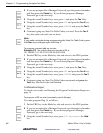
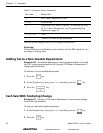
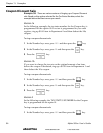
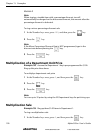
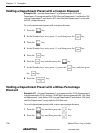
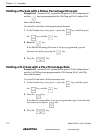
6 If you want a 4th line, do the following:
• Using the round Number keys area, press 74.
• Press the Return key. Footer line 4 appears on the display.
• Enter the 4th line of the logo, up to 24 characters and then press the
Check key.
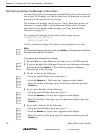
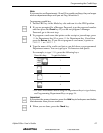
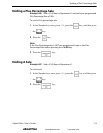
7 If you want a 5th line, do the following:
• Using the round Number keys area, press 75.
• Press the Return key. Footer line 5 appears on the display.
• Enter the 5th line of the logo, up to 24 characters and then press the
Check key.
8 When you are done, turn the Mode key to Off.
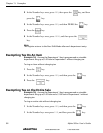
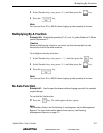
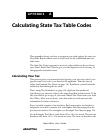
Setting Clerk Numbers and Names
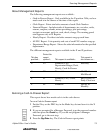
You can program and assign up to 26 Clerk Numbers so you can monitor
sales by individual employees. Each clerk number can also be assigned a
24 character name.
The Clerk Numbers are used in the register modes REG1 and REG2 only.
To see the sales totals for each clerk, a Clerk Report is available in both the
X and Z modes.
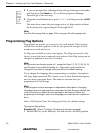
You can spell names by using department keys. For more information, see
Setting Alphanumeric Descriptions on page 17.
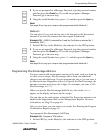
Note
When entering the clerk passwords, they appear as asterisks **** on the
displays for extra security.
After you specify Clerk Number and Names, you must set a flag option so
that clerks must enter their clerk number before every transaction. For
more information, see Programming Flag Options on page 56. If you do
not set the flag option to turn on Clerk Numbers, all transactions listed on
reports and receipts will appear under Clerk 1.
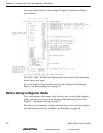
After you are done programming clerk numbers, you can check your
results. See Printing the Quick Start Program Confirmation Report on
page 29.
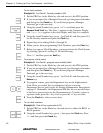
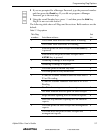
Note
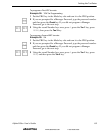
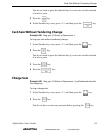
If you make a mistake while you are programming the Clerk Numbers, press
the Clear key and begin again with Step 3.
www.abcoffice.com 1-800-658-8788