NetLinx Security with a Terminal Connection
108
NI-3101-SIG Signature Series NetLinx Integrated Controller
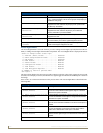
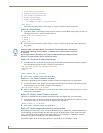
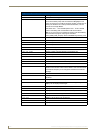
1) Add Directory Association
2) Delete Directory Association
3) List Directory Associations
4) Change Access Rights
5) Display Access Rights
Or <ENTER> to return to previous menu
Edit group ->
This menu is described on the previous pages (see Edit Group Menu section on page 105).
Option 9 - Delete Group
1.
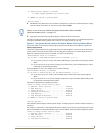
Type 9 and <Enter> at the Security Setup prompt (at the bottom of the Main Security Menu) to delete an
existing group account. A sample session response is:
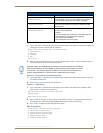
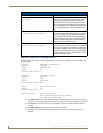
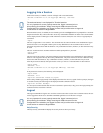
Select from the following list:
1) Group 1
2) Group 2
Select group ->
2. Select the group account to be deleted, and press <Enter> to delete the group and return to the Security
Setup menu.
Option 10 - Show List of Authorized Groups
1.
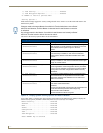
Type 10 and <Enter> at the Security Setup prompt (at the bottom of the Main Security Menu) to display a
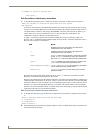
list of all authorized group accounts. A sample session response is:
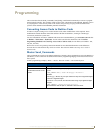
The following groups are currently enrolled:
administrator
Group 1
Press <ENTER> key to continue
2. Press <Enter> to return to the Security Setup Menu.
Option 11 - Set Telnet Timeout in seconds
This feature is disabled after the installation of firmware build 130 or higher onto your target Master.
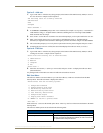
1. Type 11 and <Enter> at the Security Setup prompt (at the bottom of the Main Security Menu) to set the
Telnet Timeout value, in seconds. A sample session response is:
Specify Telnet Timeout in seconds:
2. Enter the number of seconds before you want The Telnet session to timeout, and press <Enter> to return
to the Security Setup Menu.
Option 12 - Display Telnet Timeout in seconds
This feature is disabled after the installation of firmware build 130 or higher onto your target Master.
1. Type 12 and <Enter> at the Security Setup prompt (at the bottom of the Main Security Menu) to view the
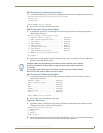
current Telnet Timeout value (in seconds). A sample session response is:
Telnet Timeout is 10 seconds.
2. Press <Enter> to return to the Security Setup Menu.
Option 13 - Make changes permanent by saving to flash
When changes are made to the security settings of the Master, they are initially only changed in RAM and are
not automatically saved permanently into flash. This selection saved the current security settings into flash.
Also, if you attempt to exit the Main Security Menu and the security settings have changed but not made
permanent, you will be prompted to save the settings at that time.
Type 13 and <Enter> at the Security Setup prompt to (permanently) save all changes to flash.
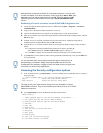
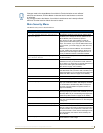
Changes made to the target Master from within the Terminal window are not reflected
within the web browser, until the Master is rebooted and the web browser connection
is refreshed.
Any changes made to the Master, from within the web browser are instantly reflected
within the Terminal session without the need to reboot.


