26 DSR Switch Installer/User Guide
Press the Up or Down Arrow keys to move the cursor to the target device. Then press Alt+K to
select the keyboard checkbox and/or
Alt+M to select the mouse checkbox. Repeat for
additional target devices.
2. Click OK to save the settings and return to the Setup dialog box. Click X or press Escape to
return to the Main dialog box.
For information on starting and stopping broadcasting, see Enabling or disabling Broadcasting on
page 36.
Selecting target devices for Scan mode
In Scan mode, the DSR switch automatically scans from port to port (target device to target
device). You can scan multiple target devices, specifying which devices to scan and the number of
seconds that each will display. The scanning order is determined by placement of the target device
in the list. The list is always shown in scanning order. You can, however, choose to display the
target device’s name or EID number by pressing the appropriate button.
NOTE: Scanning is available only to local users.
To add target devices to the Scan list:
1. If the OSCAR interface is not open, press Print Screen to open the Main dialog box.
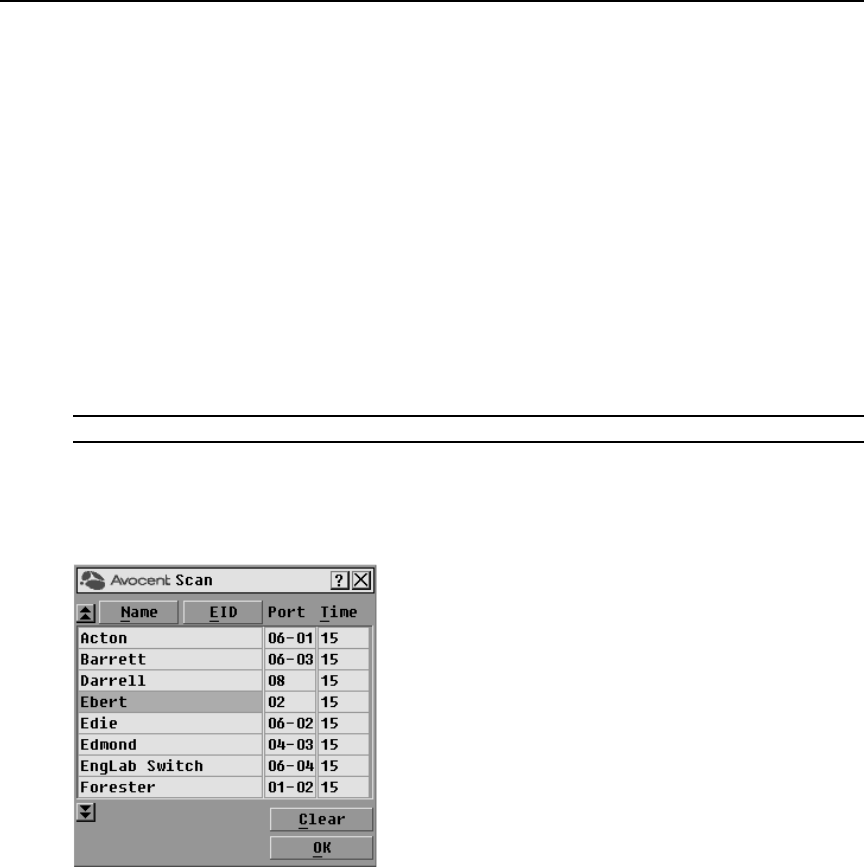
2. Click Setup - Scan to open the Scan dialog box shown in Figure 3.8.
Figure 3.8: OSCAR Interface Scan Dialog Box
3. Determine the order within the list to add the target device. If there are no target devices in the
Scan list, your cursor will appear in a blank line at the top of the list.
-or-
To add a target device to the end of the list, place your cursor in the last target device entry and
press the
Down Arrow key.
-or-
