


3. Physical installation
3.3 Alignment of a table mounted CLM projector
How to align a table mounted CLM projector
1. Place the projector in the desired location. Take into account the zoom range of the used lens and the size of the screen.
2. Project one of the internal hatch patterns on the screen.
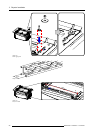
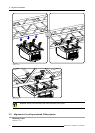
3. Turn the adjustable feet in or out until the projected hatch pattern is perfectly rectangle shaped and leveled. (image 3-17)
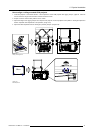
When this is achieved, the projector is set horizontal and vertical at right angles to the screen. (image 3-18)
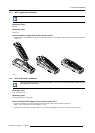
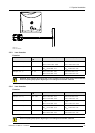
Image 3-17
Level adjustment
SCREEN
SCREEN
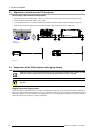
Image 3-18
3.4 Suspension of the CLM projector with rigging clamps
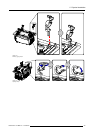
Beforethe projector can besuspended, the optional carry handle must be mounted on the projector. For more
information about the optional carry handle, see "Mounting optional Carry handle", page 209.
CAUTION: Consult a professional structural engineer to ensure that the suspension system is suitable for
this task.
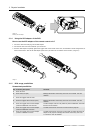
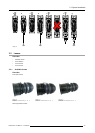
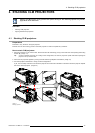
Rigging points and rigging clamps
The carry handle is provided with six slots. Four slots are longitudinally oriented (A) and two slots are transversely oriented (B). In
each slot, a rigging point can be inserted (this rigging
point is mounted on the clamps) and the position in the slot can be adjusted
depending of the size of the truss installation. The rigging clamps turn in these rigging points and these clamps allow an easy and
fast physical setup of the projector in a hanging configuration.
26
R59770021 CLM R10+ 11/10/2010