70
Adjusting the Color Balance of
Preview Images
The color balance is normally adjusted automatically to the document or
object with the auto white balance function. The following procedures may be
used to adjust the color balance manually if the color equilibrium is disturbed
by a marked change in the ambient lighting.
A large change in the ambient lighting around the DZ-3600U may throw
off the color balance and produce a red or blue bias. In this case, you
should reset the white balance with the following procedures. They can
also be used to intentionally produce a red or blue tint.
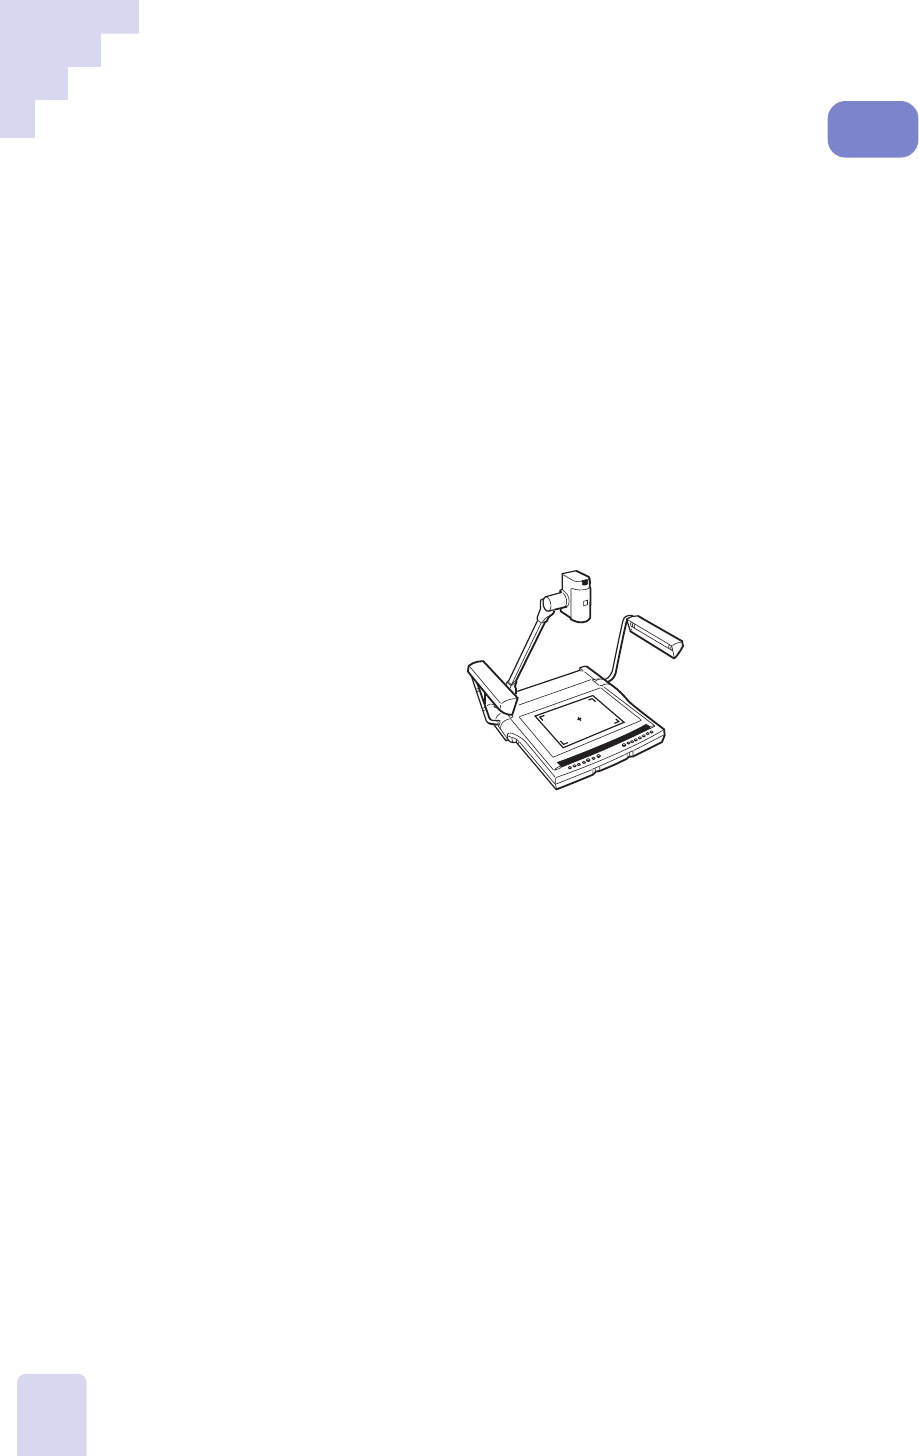
1. Place the White Balance Adjustment Chart contained in the Quick
Reference Guide onto the object stage as shown in the diagram.
2. Zoom the chart until it completely fills the window.
3. Press the [Auto] button in the white balance section of the
control panel.
The auto indicator will flash until the white balance is reset, then it
will turn off.
Replace the White Balance Adjustment Chart with your presentation
materials and proceed with your presentation with the equipment in
this state. If you wish to intentionally create a red or blue tint, press
the [Manual] button after the steps above and use the manual dial to
adjust the color.
To reactivate the auto white balance function, press the [Auto]
button again.
••• Note •••
• The color balance can also be adjusted in still mode. However, the change in
color cannot be verified unless a video monitor is directly connected to the
DZ-3600U.
Preview
Mode
