


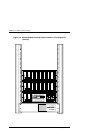
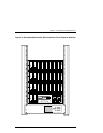
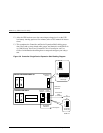
RAID Array 3000 Controller Shelf
3–12 EK–SMCPQ–UG. C01
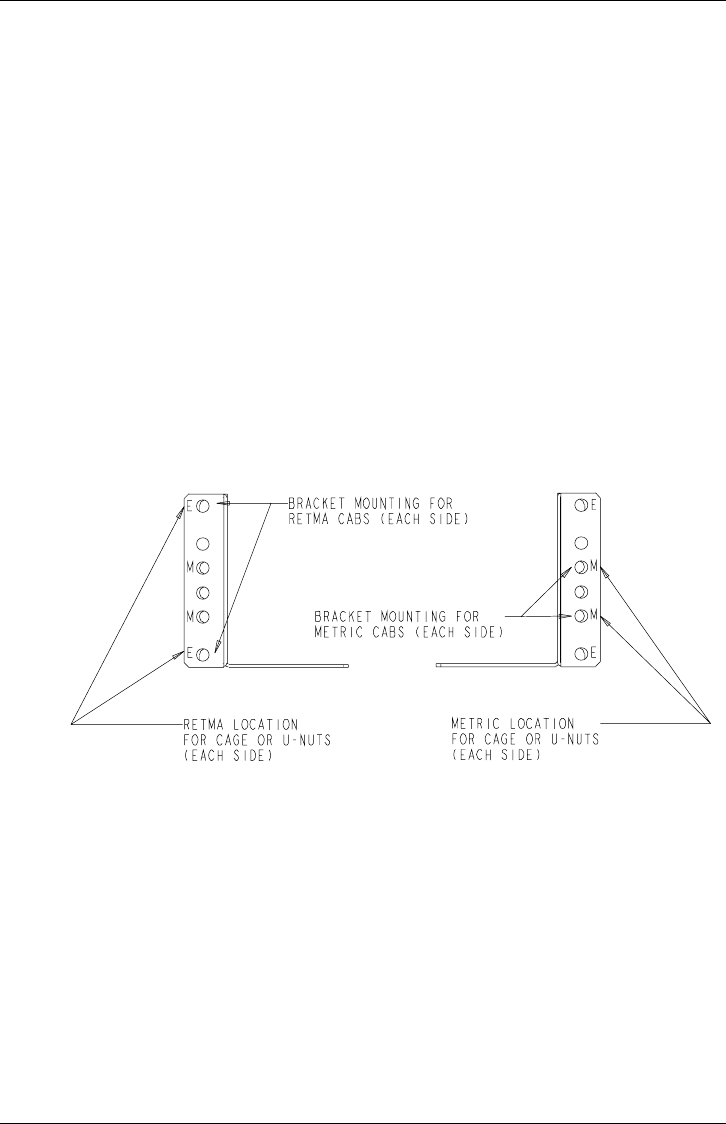
4.
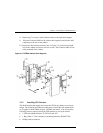
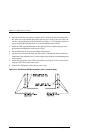
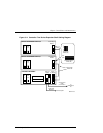
Pull and extend the rear bracket assembly until it reaches the hole mounting chan-
nel at the rear of the cabinet and install cage nuts (or U-nuts) at the rear of the rail
into the corresponding holes in the cabinet (see Figure 3–7). Extend the bracket be-
yond rail and tighten the hardware to secure the bracket to the cabinet.
5.
Install the UPS right-hand bracket on the right side of the cabinet using the same
hole patterns and hardware used in steps 2 and 3.
6.
Ensure both brackets are level and tighten all hardware.
7.
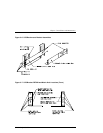
Carefully lift and insert the UPS onto the brackets and push the unit back into the
cabinet until the mounting holes in each flange aligns with the corresponding holes
in the cabinet.
8.
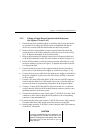
Secure the front panel of the UPS to the cabinet (see Figure 3–8 for correct holes)
using two SST flat-washers and screws.
9.
Connect the UPS power cord to the ac power strip.
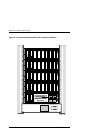
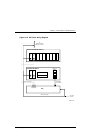
Figure 3–8 UPS Bracket RETMA and Metric Hole Locations (Rear)