


Removing and Replacing Parts 4-17
6\VWHP3RZHU6XSSO\DQG363%8SJUDGH
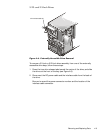
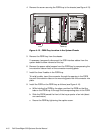
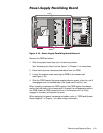
)LJXUH3RZHU&DEOH&RQQHFWLRQV³6LQJOH3RZHU6XSSO\
:$51,1*)RUV\VWHPV Z LWK QRQUHGX QGDQWSRZHUVXSSOLHVWXUQRII
SRZHUWRWKHV\VWHPEHIRUHUHPRYLQJWKHV\VWHPSRZHUVXSSOLHV
If you have a single power-supply configuration (when available as an option)
for your Dell PowerEdge 4300 system, follow these steps to upgrade a com-
puter with a PSPB and additional power supplies:
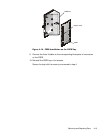
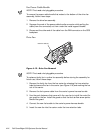
1. Remove the power supply.
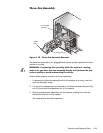
2. Slide the system board tray out of the chassis to the service position.
See “Accessing the Interior of the System” in Chapter 1 for instructions.
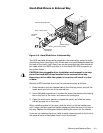
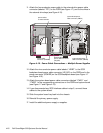
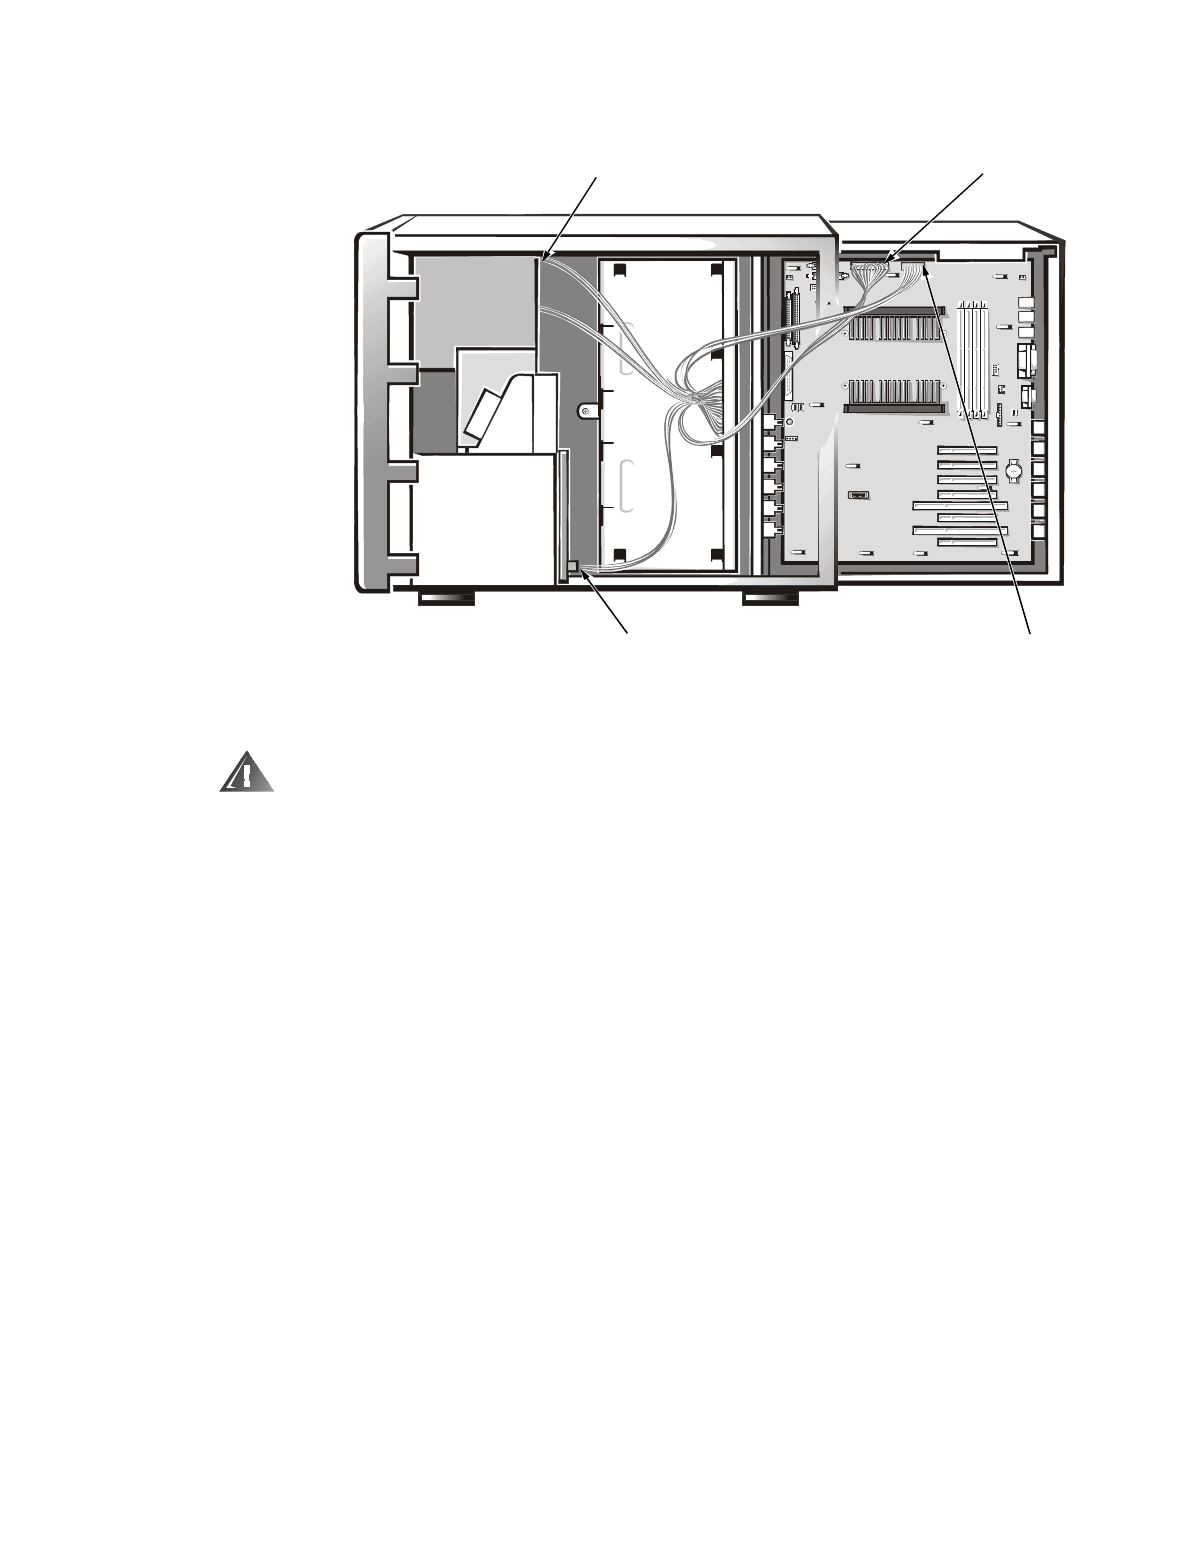
3. Disconnect the power cable harness from the POWER connector on the
SCSI backplane board, from the PWR1 and PWR2 connectors on the sys-
tem board, and from the diskette drive and other drives in the external
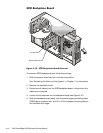
drive bay (see Figure 4-12).
When disconnecting the cables from the SCSI backplane board and the
system board, press the plastic latch on one side of the connector to
release it.
power cables to
external drives (2)
system-board power
cable connector (PWR1)
SCSI backplane-board
power cable connector (POWER)
system-board power
cable connector (PWR2)