


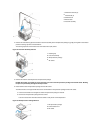
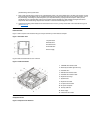
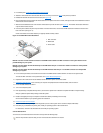

3. Disconnect the control panel cable from the control panel connector on the system board (see "System Board Labels" for the location of the
PANEL connector).
Note the routing of the control panel cable as you remove it from the chassis.
4. Remove the mounting screw that secures the control panel to the chassis.
5. Disconnect the chassis intrusion switch cable connector from the control panel.
6. Remove the control panel cable.
7. Remove the control panel from the chassis.
Note the routing of the control panel cable as you remove it from the chassis.
When you install the replacement control panel, be sure to put the right side of the control panel behind the mounting tab.
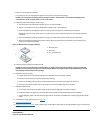
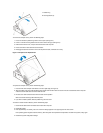
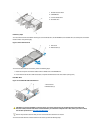
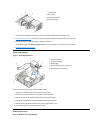
Chassis Intrusion Switch
Figure 7. Chassis Intrusion Switch Removal
To remove the chassis intrusion switch, perform the following steps:
1. Remove the drive shelf.
2. Remove the power supply.
3. Remove the control panel.
4. Disconnect the chassis intrusion switch cable connector from the control panel.
Note the routing of the chassis intrusion cable as you remove the cable from the chassis. Chassis hooks may hold the cable in place inside
the chassis.
5. Slide the chassis intrusion switch out of its slot and remove the switch and its attached cable from the chassis.
6. Install the replacement chassis intrusion switch and cable.
7. Replace the computer cover and reset the chassis intrusion detector.
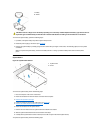
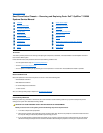
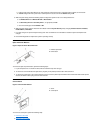
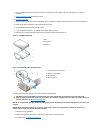
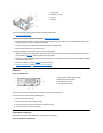
Drives
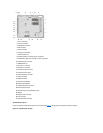
Figure 8. Drive Locations
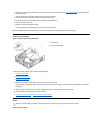
1
Control panel
2
Chassis intrusion switch
NOTE: In all of the following procedures, left and right refer to your left and right as you face the front of the computer.