Printing From Windows
18
Controlling Ink Density
You can easily adjust the ink density (amount of ink) printed on discs. Less ink results in images
that are less dense; more ink results in denser images. In general, the disc’s finish (matte, glossy,
color, and so on) determines the ink density you should use. See "About Printable CDs/DVDs" on
page 5 for details about the various types of inkjet-printable discs.
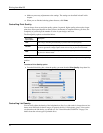
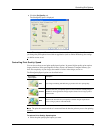
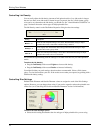
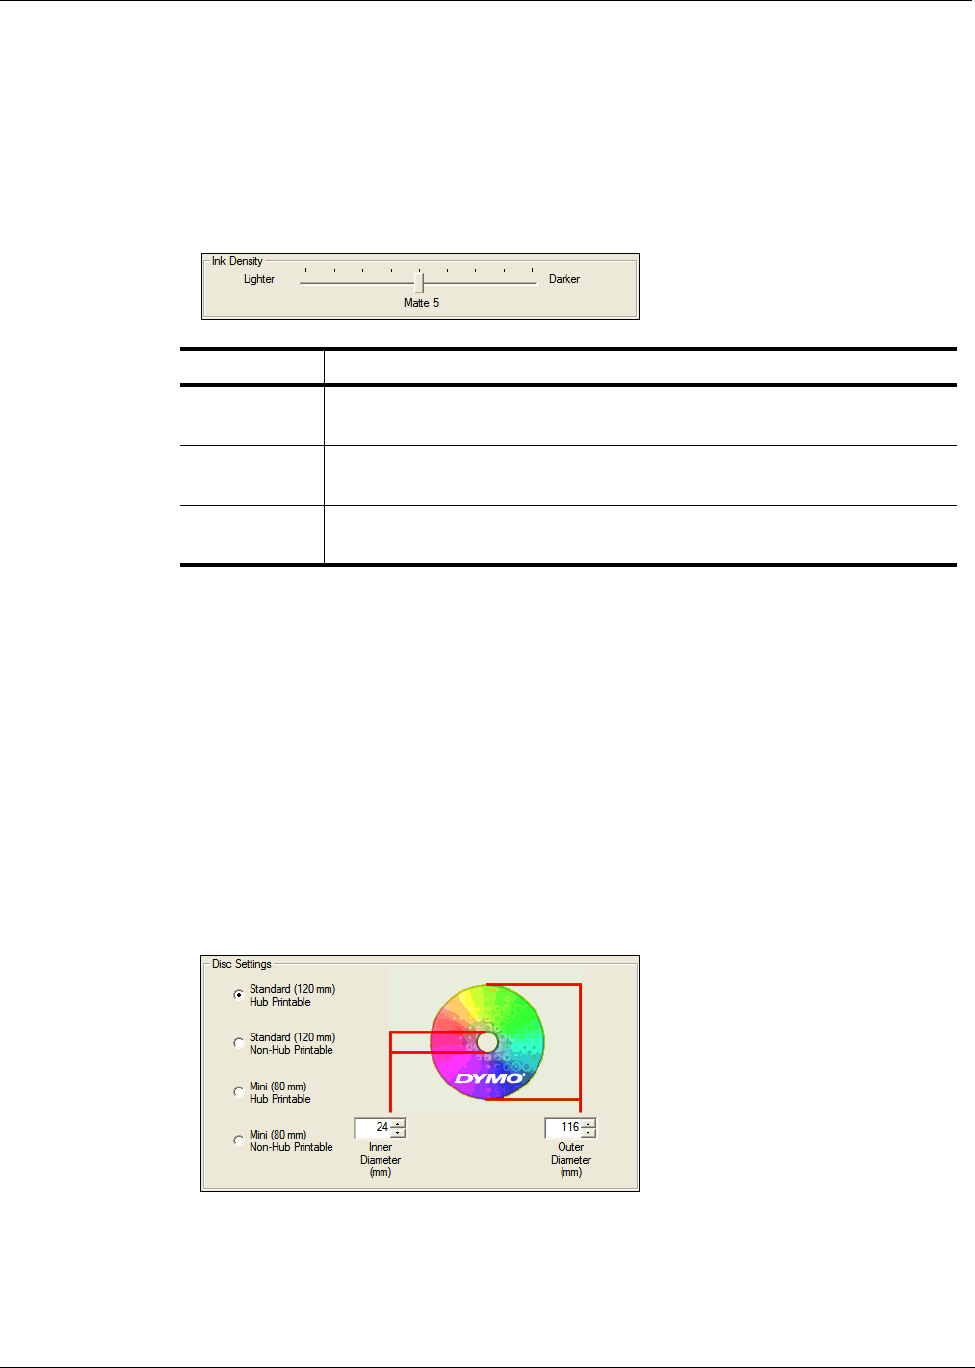
The Ink Density control on the DiscPainter Properties dialog box has nine settings.
We recommend experimenting with the settings to see what works best for your inket-printable
media.
To select the ink density
♦ Drag the Ink Density slider toward Lighter to decrease ink density;
♦ Drag the Ink Density slider toward Darker to increase ink density.
You might find that you prefer settings other than those recommended. Select a finish (matte,
glossy, or color) that matches your disc. If the results are not what you expected, try printing with a
different ink density setting.
Controlling Disc Settings
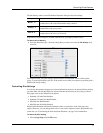
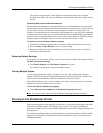
Default Inside Diameter and Outside Diameter values are assigned to each of the Disc Settings
options. However, you can change these values if you need to expand or reduce the printable area
on the disc (see “Controlling Disc Inside and Outside Diameters” below for information).
To select the Disc Settings option
♦ Select the disc setting that matches the size and type of inkjet-printable disc you are using.
Setting Description
Matte 1 - 5
Uses less ink and printed image is less dense. Recommended setting for inkjet-
printable discs with a matte finish. Default setting is Matte 5.
Glossy 6 - 7
Uses slightly more ink than the matte settings. Recommended setting for inkjet-
printable discs with a glossy finish.
Color 8 - 9
Uses more ink and printed image is more dense. Recommended setting for inkjet-
printable discs with a silver or color finish.


