


Printing From Windows
20
Below are some general tips on using the printer with other applications.
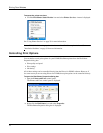
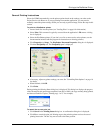
To configure your application to print to the DiscPainter printer
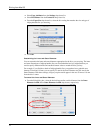
• Set up a paper size that matches the size of the disc you are using.
For example, if printing to a Standard (120 mm, 4.7") disc, set up a paper size of 120 mm wide
and 120 mm high; if printing to a Mini (80 mm, 3.15") disc, set up a paper size of 80 mm wide
and 80 mm high.
• Set all the margins to 0.
By defining the appropriate paper size, your design will be centered on the paper.
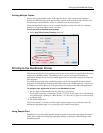
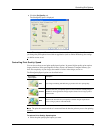
Using Sample Files
Sample files for several popular graphics design programs are included in the Sample Files folder.
These sample files contain the proper page settings for printing a CD/DVD design to the
DiscPainter printer.
Sample files are provided for the following programs:
• Photoshop
®
• Illustrator
®
• InDesign
®
• SureThing
™
CD/DVD Labeler
• QuarkXPress
®
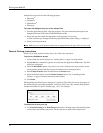
To print using the sample files
1 From the application program, select Open from the File menu and navigate to the Sample
Documents folder.
The Sample Documents folder is typically located in C:\Program Files\DYMO DiscPainter.
2 Select and open the sample file appropriate for the program you are using.
A blank document, pre-configured with the proper DiscPainter printer settings, is displayed.
3 Create your design and print.
Note Make sure you set the printer features that are appropriate for the type of disc you are using.