31
Chapter 6
Printing Over a Network
This chapter describes how to print to a DYMO DiscPainter printer over a network. The topics
covered in this chapter are:
• “Printing to a Shared Printer from Mac OS”
• “Printing to a Shared Printer from Windows”
The following are the general steps you need to follow to set up a printer for printing over a
network. These steps are provided as a general overview and reminder that you must be able to
print locally to the printer before you can share it.
The term local computer refers to the computer to which the printer is physically connected. The
term remote computer refers to the computer from which you wish to print to a printer on the
network.
Note When printing to a shared printer, any messages generated by the printer, including error
messages, are displayed on the local computer, not on the remote computer.
To print to a shared printer over a network, the remote computer must be able to access the local
computer over the network. Contact your System Administrator for more information.
1 Install the printer to be shared on the local computer.
2 Confirm that you can print to the printer locally.
3 Share the printer on the local computer.
4 Install the DiscPainter Software on the remote computer.
Printing to a Shared Printer from Mac OS
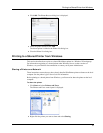
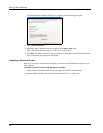
This section describes how to print to a shared printer in a Mac OS workgroup. For information on
printing to a shared printer under other versions of Mac OS, see your Mac OS documentation or
contact your System Administrator.
Sharing a Printer on a Network
These instructions assume that you have already installed DYMO DiscPainter Software on the
local computer. See the printer’s Quick Start Guide for information.
Before printing to a shared printer, you first need to share the printer on the local computer.
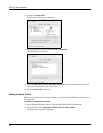
To share the printer
1 Select System Preferences from the Apple menu.
The System Preferences dialog box is displayed.


