


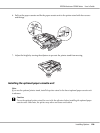
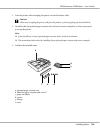
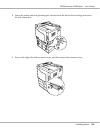
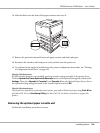
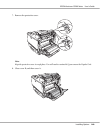
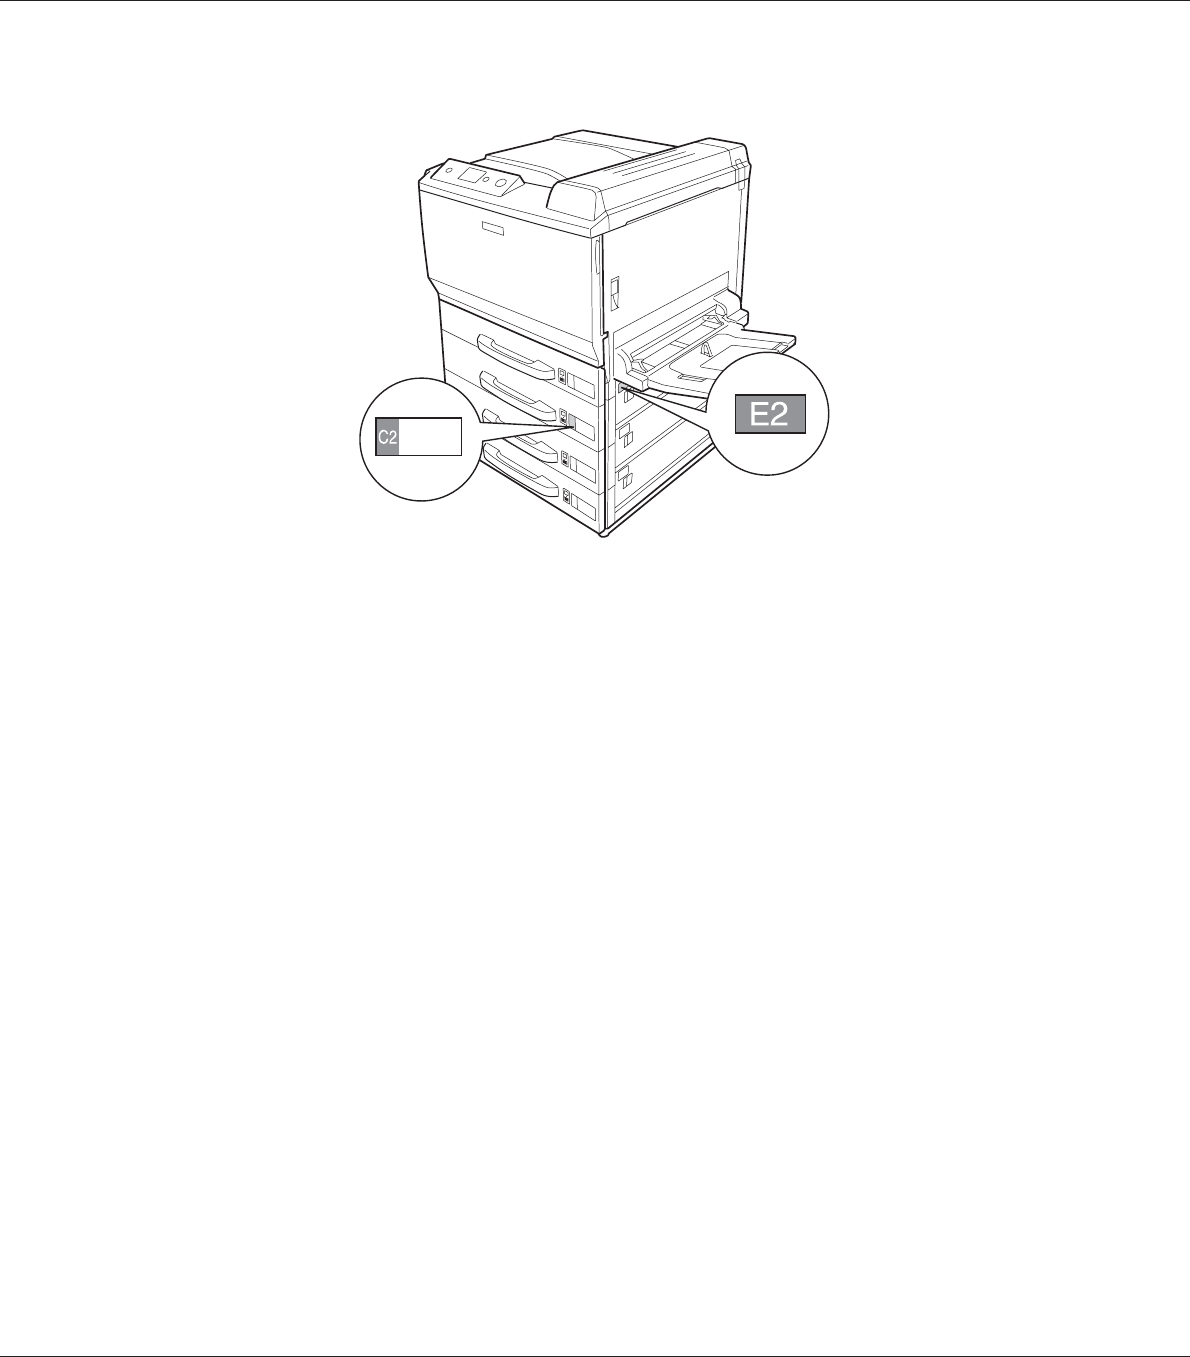
16. Affix the labels onto the front of the paper cassettes and cover E.
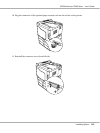
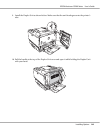
17. Remove the protective materials from each paper cassette, and then load paper.
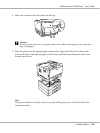
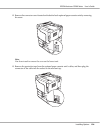
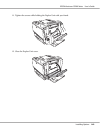
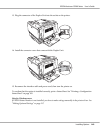
18. Reconnect the interface cable and power cord, and then turn the printer on.
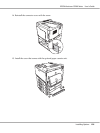
19. To confirm that the option is installed correctly, print a configuration status sheet. See “Printing
a Configuration Status Sheet” on page 195.
Note for Windows users:
If EPSON Status Monitor is not installed, you have to make settings manually in the printer driver.
Click the Update the Printer Option Info Manually button on the Optional Settings tab, and then click
Settings. Then select Cassette 2, Cassette 3, and Cassette 4 from the Optional Paper Sources list on
the Optional Settings dialog box based on the installed options and click OK.
Note for Macintosh users:
When you have attached or removed printer options, you need to delete the printer using Print & Fax
(for Mac OS X 10.5) or Print Setup Utility (for Mac OS X 10.4 or below), and then re-register the
printer.
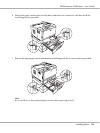
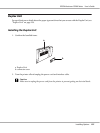
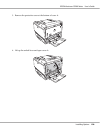
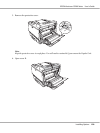
Removing the optional paper cassette unit
Perform the installation procedure in reverse.
EPSON AcuLaser C9200 Series User's Guide
Installing Options 136