


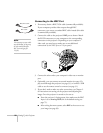

28 Setting Up the Projector
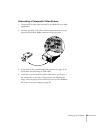
Connecting to the BNC Port
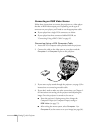
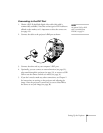
1. If necessary, obtain a BNC/VGA cable (commercially available).
If your computer provides video output through BNC
connectors, you can use a standard BNC cable instead (this cable
is commercially available).
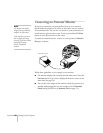
2. Connect the cable to the projector’s
BNC port as shown. Match
the R/G/B connectors on your computer to the corresponding
connectors on the projector. Depending on your computer’s
video card, you may have to make one or two additional
connections (to the H/C Sync or V Sync ports).
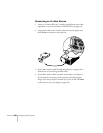
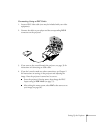
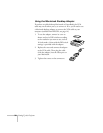
3. Connect the other end to your computer’s video-out or monitor
port.
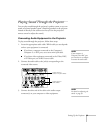
4. Optionally, you can connect an external monitor (see page 32),
play sound through the projector (see page 33), or connect a USB
cable to use the remote control as a mouse (see page 31).
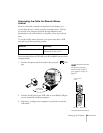
5. If you don’t need to make any other connections, see Chapter 2
for instructions on turning on the projector and adjusting the
image. Once the projector is turned on, be sure to:
■ Enter the projector’s Setting menu, then make sure the BNC
Input is set to
Analog-RGB (this is the default setting; see
page 75).
■ After exiting the menu system, select BNC as the source to see
your image (see page 38).
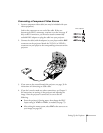
BNC/VGA cable
BNC cable
note
The connectors on your cable
may be labelled, or they may
be color-coded (black for
H/C Sync and gray for
VSync).
RGB