


Fine-tuning the Projector 69
Adjusting Computer Images
When you’re projecting an analog RGB computer image, there are
several additional settings you can use to adjust the image.
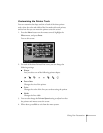
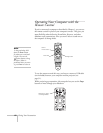
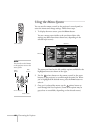
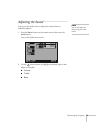
■ Auto button
If your computer image doesn’t look correct,
press the
Auto button on the remote control
(or the
Auto/Enter button on the projector).
This automatically resets the projector’s
tracking, sync, resolution, and position
settings.
If further adjustment is needed, you can change
these settings manually as described below.
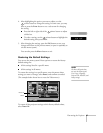
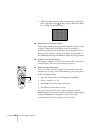
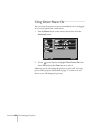
■ Tracking and Sync (in the Video menu)
If your image contains a lot of fine detail (such as text), you may
notice one or more vertical stripes or bands, or some of the details
may look heavy or blurred. You can adjust the
Tracking and
Sync settings manually:
1. Fill the screen with an image containing fine detail when
making these adjustments. For example, in Windows you can
select a pattern to appear as your desktop background. If this
option isn’t available, try projecting black text on a white
background.
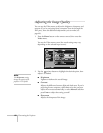
2. Press the
Menu button on the remote control, then enter the
Video menu.
3. Adjust the
Tracking to eliminate vertical stripes by pressing
the left or right side of the pointer button.
note
These settings do not apply
to digital RGB images
transmitted through the
DVI port.
Auto button