


PoleVault Systems Installation • Installation — Stage 1
2-4
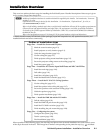
Installation — Stage One, cont’d
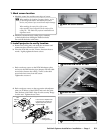
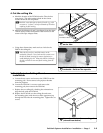
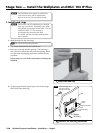
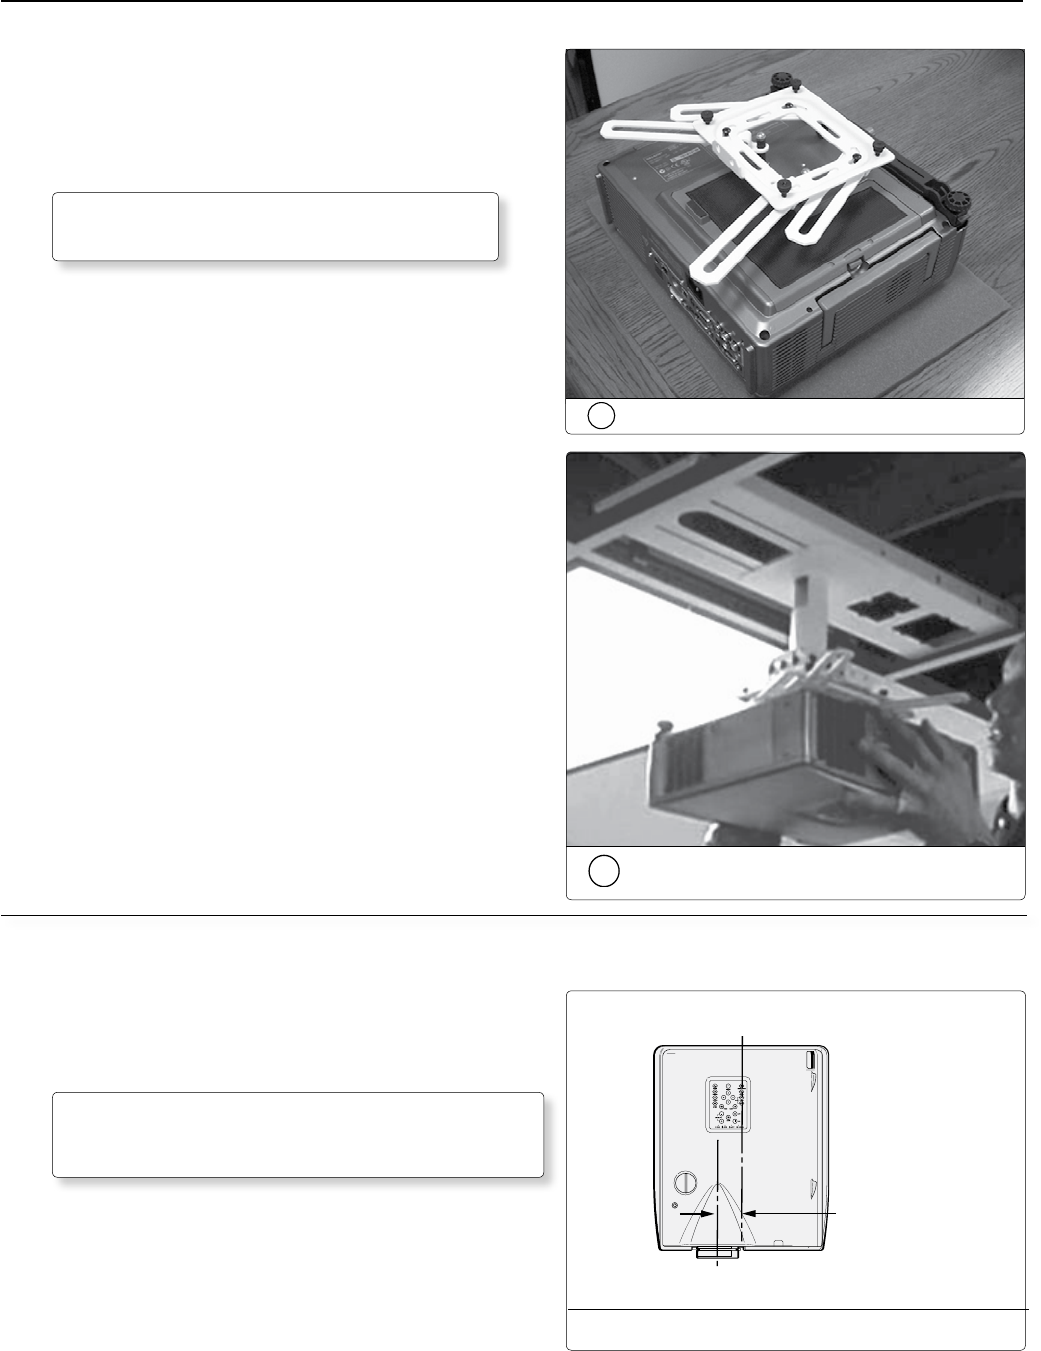
e. Using suitable screws, mount the projector onto the
lower portion of the UPB 25 (the projector bracket, see b
in step 2d’s drawing). Align it so the security flange is at
the rear. A minimum of three arms need to be attached
to the projector Adjust the arms to fit as needed. Lock
down the arm adjustment screws.
T
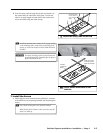
Adjust the threaded barrels at the end of each
arm to keep the bracket level.
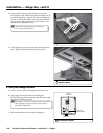
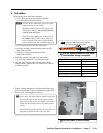
f. Lift the projector up to the mount plate and slide it into
place. Tighten down the locking and pivot screws.
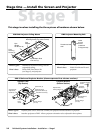
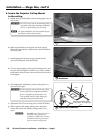
3. Verify the image location
a. Connect a power cable to the projector and turn it on.
b. Verify image size and location by loosening the
PCM 240 adapter plate locking nuts, and adjust the plate
(left-right) to center the image.
T
Remember to include the vertical and horizontal offsets
when aligning the projector. Refer to the projector
manual for information.
c. When satised lock down the plate locking nuts.
Projector
Center Line
Lens
Center Line
Measure the
horizontal offset
2f
Slide and lock the projector onto the
adjuster plate
2e
Attach the bracket to the projector
T Horizontal offset