


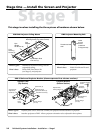
PoleVault Systems Installation • Installation — Stage 1
2-6
Installation — Stage One, cont’d
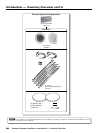
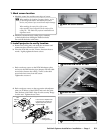
6. Secure the Projector Ceiling Mount
to the ceiling
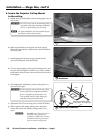
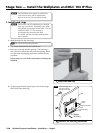
a. Attach the four turnbuckles to the mounting plate, one at
each corner.
C
DO NOT rest or lean on the mounting plate or
suspended ceiling when attaching turnbuckles,
tie wire, or when drilling into the ceiling
N
For safest installation, insert the turnbuckle from
the outside so that it hooks inwards.
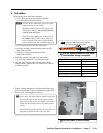
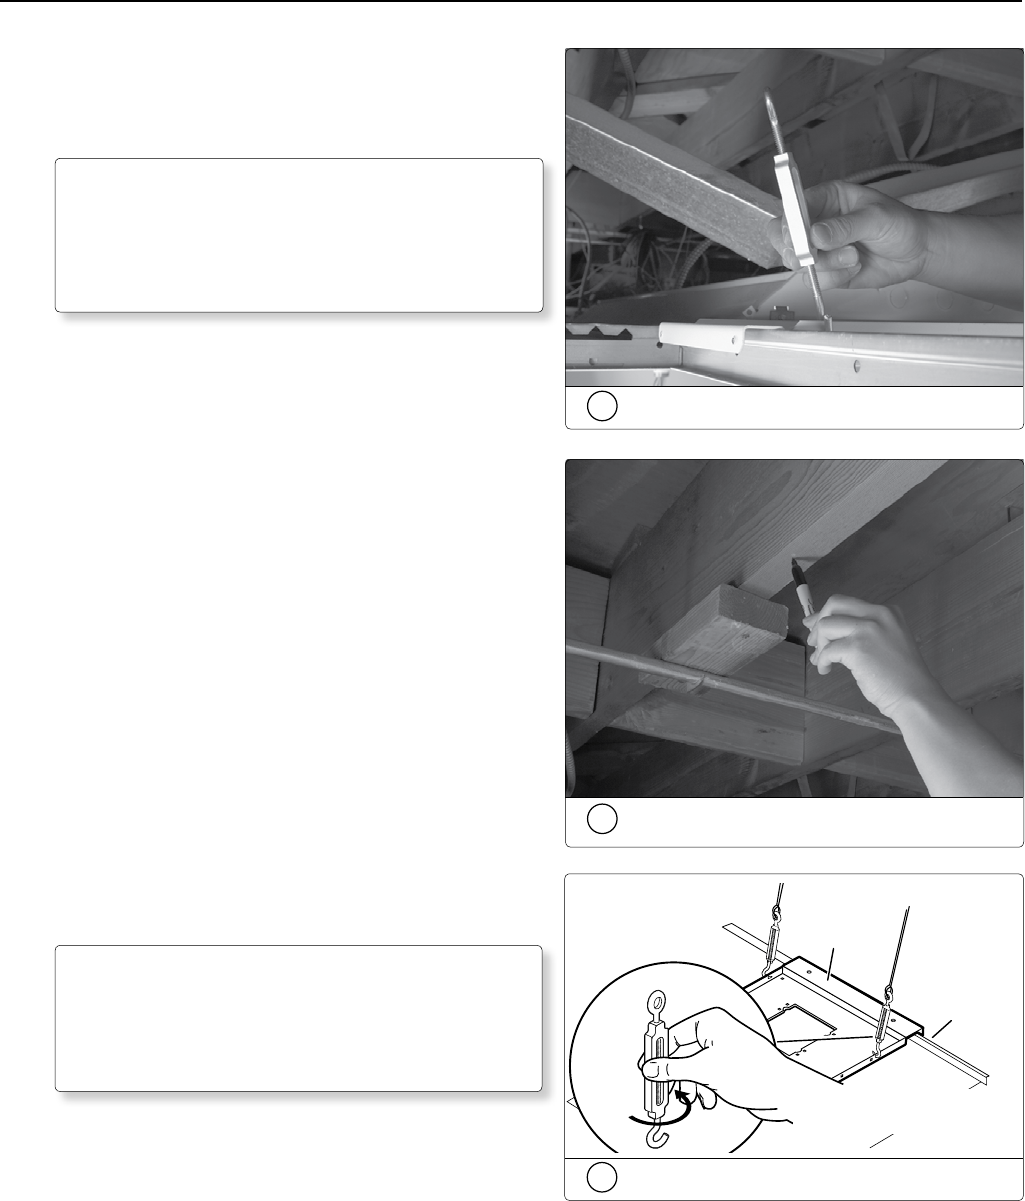
b. Mark and drill holes at 10 degrees out from vertical.
Drill a fth hole directly centered above the PCM 240 for
the safety cable.
c. Install appropriate anchors or lag eye-bolts for the
structural ceiling into each drilled hole
d. Cut four equal lengths of the supplied hanging wire, and
loop the wire through the anchors or eye screws, and the
turnbuckles, then twist the wire around itself at least five
times tightly.
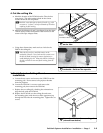
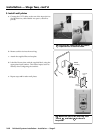
e. Hand tighten the turnbuckles, and level the plate so it
just rests on the grid.
C
The four hanging wires should be taut, taking
the full weight of the completed installation.
Do not overtighten the turnbuckles or the
T-bar assembly could be lifted, making the
suspended ceiling bowed and unsafe.
f. Tighten the four T-bar securing screws on the PCM 240.
g. Mark a point in the ceiling directly above the plate’s
center, drill a hole and install a ceiling anchor or eye
screw
C DO NOT rest or lean on the plate or
suspended ceiling grid during
installation of safety cable, or during
installation and wiring of electrical
boxes, accessories, and projector.
6a
Attach turnbuckles at the corners
PCM
T-bar
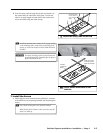
Adjust the turnbuckles to take
up any slack in the hanging wire.
6e
Tighten the turnbuckles
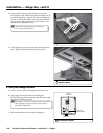
6b
Mark structural ceiling for lag bolt
installation