


2-17
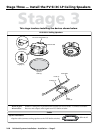
PoleVault Systems Installation • Installation — Stage 3
N
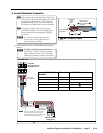
The installation must conform to national and
local electrical codes, and UL requirements.
Refer to the device’s user manual for details.
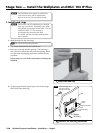
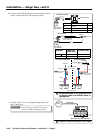
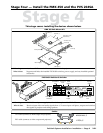
1. Cut ceiling tile
If installing PV SI 3C LP speakers, do the following:
a. Remove the ceiling tiles where the speakers are to be
installed.
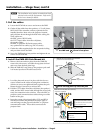
T
For ease of working on the speaker when it is replaced
on the T-bar, remove an adjacent tile(s).
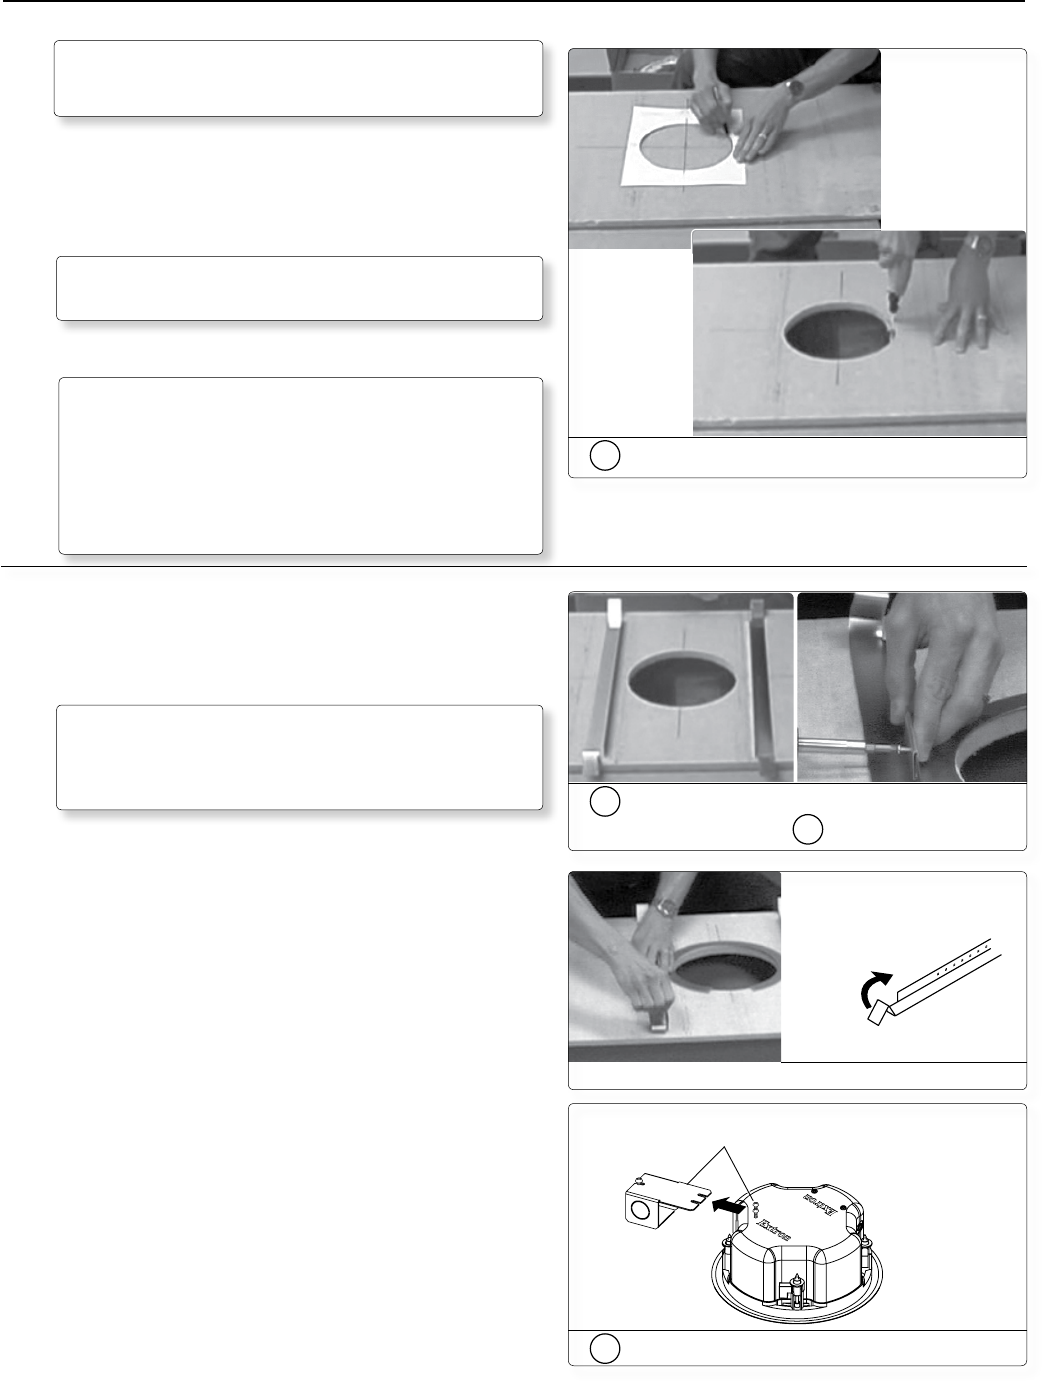
b. Locate the tile center, and using the supplied template,
trace and cut the hole for the speaker.
T
Place an empty box under the tile for support and to
collect the waste.
Measure and mark the center point of the tile and align
the cross marks with those on the supplied template.
Use a fine hacksaw blade to cut the tile without
damaging the face.
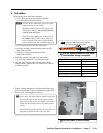
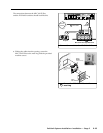
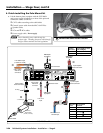
2. Install the speaker in the ceiling tile
a. Lay two supplied speaker V-rails across the tile on either
side of the hole.
b. Remove the C-ring from the speakers and attach it to the
center of the V-rails with the supplied hardware.
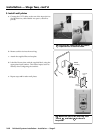
T
At the ends of each V-rail, bend the tabs upwards.
This makes it easier when replacing the tile back on the
T-bars. When installation is complete, bend the V-tabs
down onto the T-bars
c. Remove the plenum cover from the speaker terminals
d. Insert the speaker into the ceiling tile from the face side.
1b
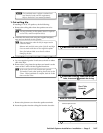
Mark the tile and cut the hole
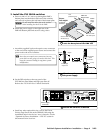
2c
Remove plenum cover
Loosen the screws and
remove the plenum cover.
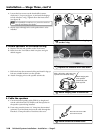
2a
Place the V-rails on either side of the
hole, insert and
2b
attach the C-ring
Bend Tabs
Upwards
Bend the end tabs upwards.