


2-25
PoleVault Systems Installation • Installation — Stage 4
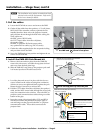
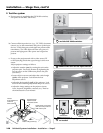
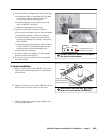
FRONT
REAR
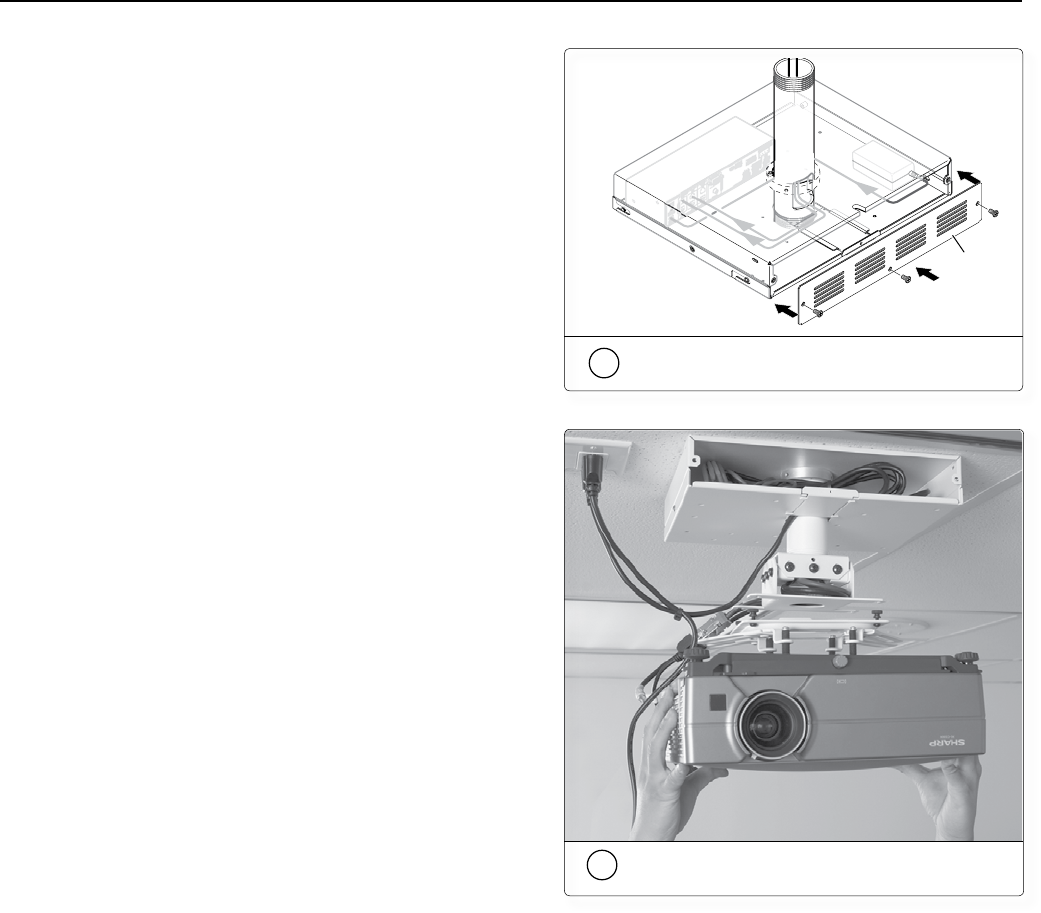
Rear Plate
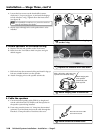
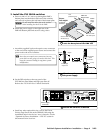
4c
Attach and screw down rear plate
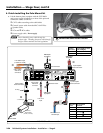
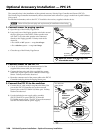
4d
Replace projector on the adjuster plate
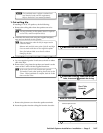
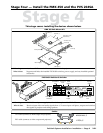
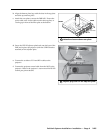
b. Align the bottom plate lugs with the slots in the top plate
and slide up and into place.
c. Attach the rear plate to secure the PMK 450. Ensure the
power cable exits via the cable notch in the top plate, or
via the gap in front of the filler plate at the bottom.
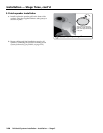
d. Screw the UPB 25 adjuster plate back onto the base of the
PMP, and replace the projector (with the UPB 25 bracket
attached) on the adjuster plate.
e. Connect the switchers VGA and RCA cables to the
projector.
f. Connect the projector control cable from the MLC to the
projector. Refer to the projector’s user manual for RS-232
control port pinout details.