SETTING UP
Installing the Ribbon cartridge
(HOT)
CAUTION <HOT>
The print head and metal frame is hot during
printing or immediately after printing. Do not touch
them until it cools down.
1. Prepare the printer to install the ribbon cartridge.
Make sure that the print head protecting cardboard used for
transportation has been removed, then turn on the printer power with
the top cover closed. Ensure that the print head moves and stops at
the ribbon replacement position.
NOTE
If you turn on the printer power with the top cover open, the
print head does not move. Turn the printer power with the
top cover closed.
2. Turn off the printer power.
Make sure that the power switch is set to the “{” side.
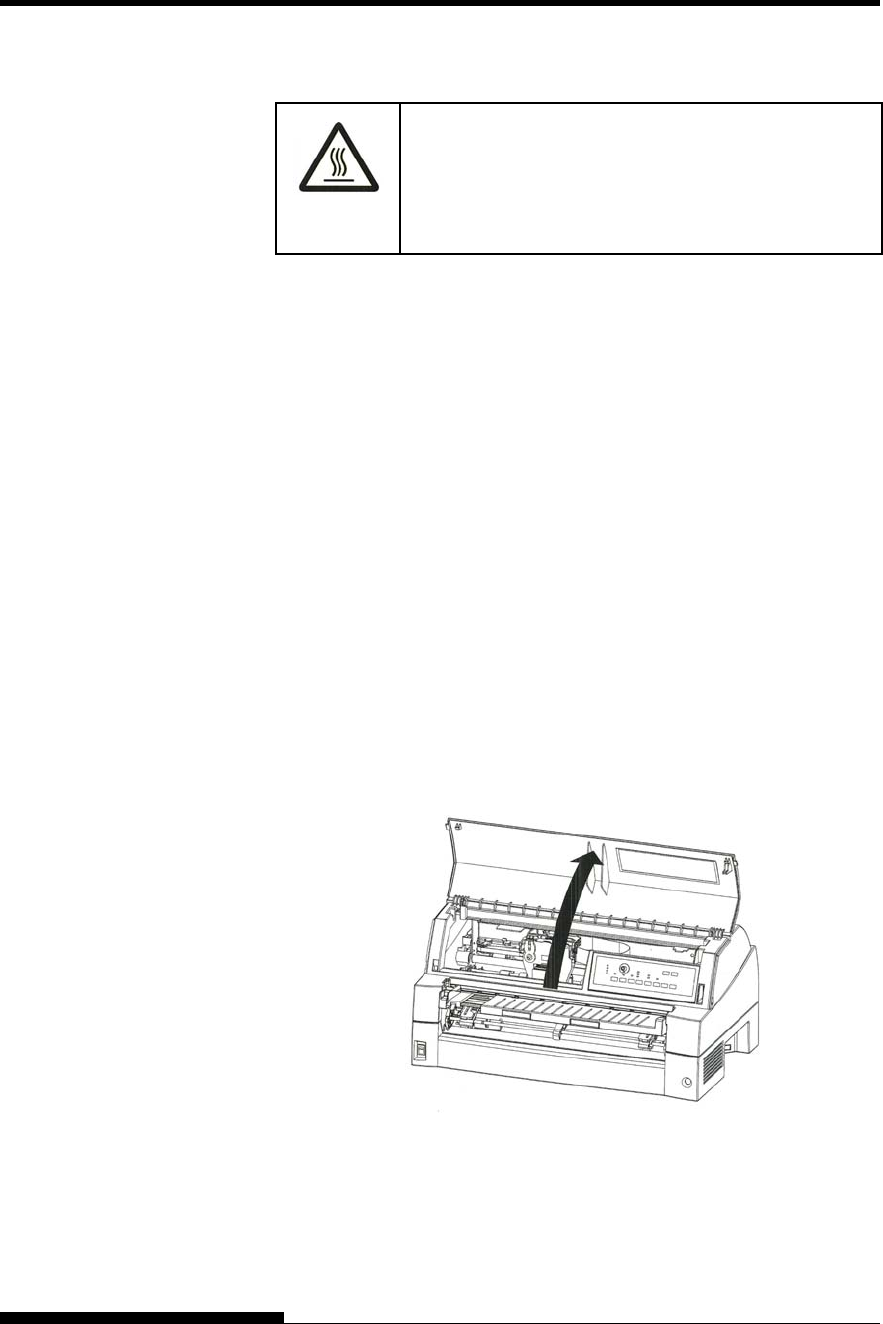
3. Open the front cover of the printer. Slide the print head carriage so
that its center is at the position for replacing the ribbon cartridge
(indicated by the triangle marking on the front of the upper cover).
Preparing the printer to install the ribbon cartridge
NOTE
The buzzer may sound if the print head is moved while the
power supply is ON.
2-8 User's Manual


