


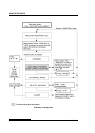
USING SETUP MODE
5-2 User's Manual
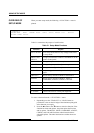
• Head Gap Adjustment Items and Options
• Exiting and Saving
To restore the printer default settings (factory defaults or power-on
defaults), see the section Resetting Defaults later in this chapter.
For information on using the SELF-TST, HEX-DUMP, and V-ALMNT
functions, see the section Using the Diagnostic Functions later in this
chapter.
For Experienced Users:
Once you are familiar with setup mode, you may want to use the
flowchart at the end of this chapter for quick reference. The flowchart
lists all printer setup functions, items, and options.
Before entering setup mode, load continuous forms paper from the front
tractor into the printer as described in Chapter 3. Several sheets of paper
may be required to make all of your setup mode selections.
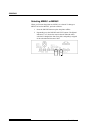
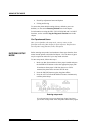
To enter setup mode, follow these steps:
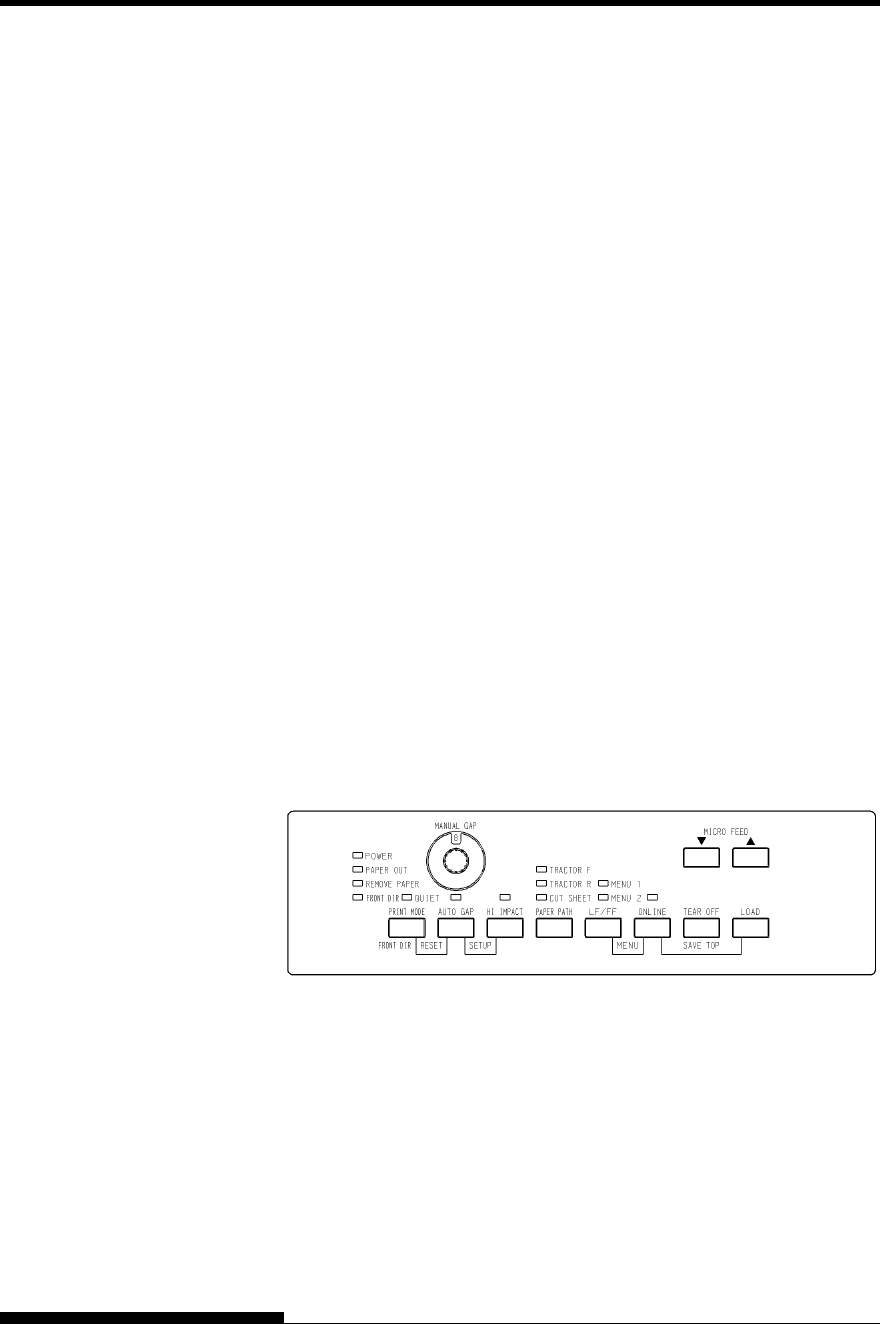
1. Make sure that front continuous forms paper is loaded and press
the PAPER PATH button to select the approporiate paper path.
If continuous forms paper is fed from the rear or a CSF is
mounted, the printer does not enter SETUP mode.
2. Press the ONLINE button to place the printer offline.
3. Press the AUTO GAP and HI IMPACT buttons simultaneously
until the printer beeps.
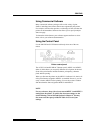
Entering setup mode
If you do not hear a beep or an alarm beep (beeps four times),
you are not in setup mode. Place the printer offline and try again.
ENTERING SETUP
MODE