SETTING UP
Before you plug in the printer:
CONNECTING THE
POWER CORD
9 Make sure that the printer power is switched off. The side
marked “{” on the power switch should be depressed.
9 Make sure that the power outlet is properly grounded.
9 Make sure that you use the power cord shipped with the printer.
This cord is designed to minimize radio frequency interference.
To plug in the power cord:
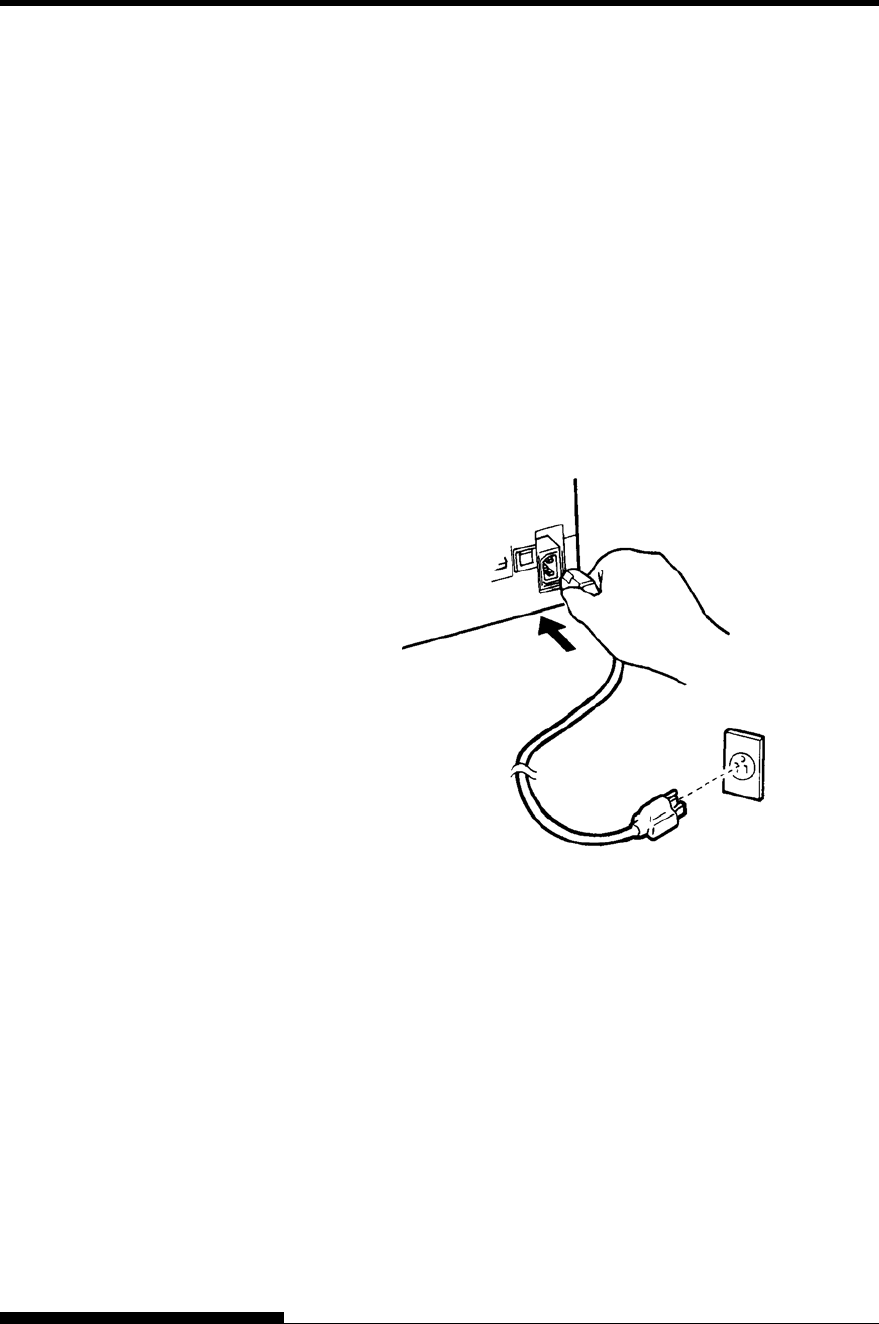
1. Plug one end of the power cord into the power connector on the
rear of the printer.
2. Plug the other end of the power cord into the power outlet.
Connecting the power cord
3. Make sure that the power cord is securely connected.
4. Turn on the power by pressing the side marked “I” on the power
switch. The POWER indicator on the printer control panel will
light, the print head will move to its home position within a few
seconds, and the ONLINE indicator will light (green).
NOTE
If no forms are loaded, the printer beeps and the red PAPER OUT
indicator lights and the ONLINE indicator will not light.
User's Manual 2-15


