


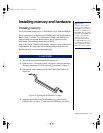


38 Maintaining and Troubleshooting the Gateway ALR 7300 Server
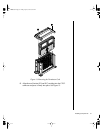
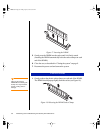
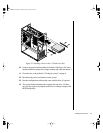
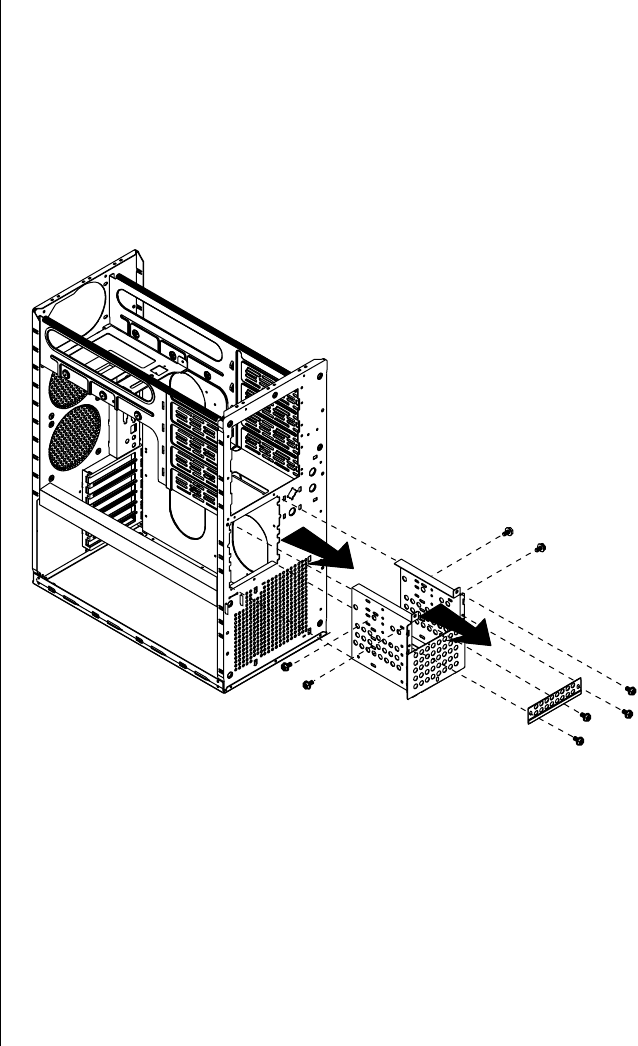
3. Locate the 3.5-inch drive bracket.
4. Disconnect the power and data cables from the back of the drive that
you want to replace, noting their location and orientation. (You will
reconnect these cables after you install the new drive.)
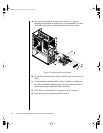
5. Remove the screws securing the drive bracket to the system chassis,
and remove the drive bracket from the chassis. Doing so also removes
the 3.5-inch metal filler panel from the front of the drive bracket (see
Figure 20).
Figure 20: Removing the 3.5-inch Drive Bracket
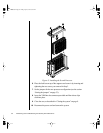
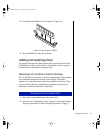
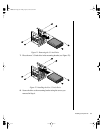
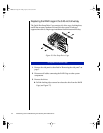
6. Remove the screws securing the 3.5-inch drive to the bracket, and then
remove the 3.5-inch drive (see Figure 21).
4075.book Page 38 Friday, April 2, 1999 9:26 AM