


Removal and Installation
8-56
HP DesignJets 500, 510 and 800 Series Printers Service Manual
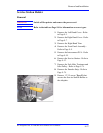
Print Platen
Removal
WARNING Switch off the printer and remove the power cord.
NOTE Refer to the table on Page 8-4 for information on screw types.
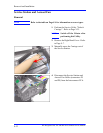
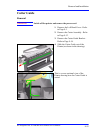
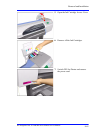
1. Remove the Cutter Assembly - Refer
to Page 8-32.
2. Remove the Cutter Guide - Refer to
Page 8-55.
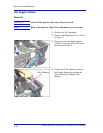
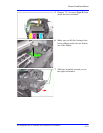
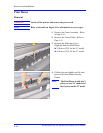
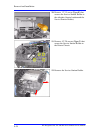
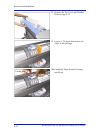
3. Remove the following screws
(Type G) from the Print Platen:
24 Screws (T-8) for the 24" model.
36 Screws (T-8) for the 42" model.
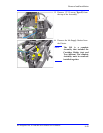
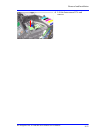
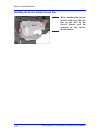
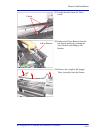
4. Pull the tabs out slightly and lift each
piece of the Print Platen from the
Printer.
NOTE
The Print Platen is split into 2
pieces on the 24" model and
into 3 pieces on the 42" model.