120
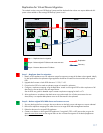
Step 1 – Self replicate data for migration
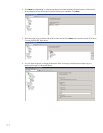
1. Create a new VTL or Share on the D2D Backup System; this will be the new location for the migrated data. It
is not possible to use the same Share or Library names as the original or use the same WWN/Serial numbers
for VTL devices.
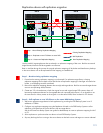
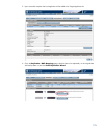
2. Add a new replication target device by providing the own IP address or FQDN (Fully Qualified Domain
Name) of the D2D Backup System.
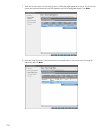
3. Configure a replication mapping using the Replication wizard on the D2D Backup System to allow replication
of all data from the source device to the new target device located on the same D2D Backup System. See the
HP StoreOnce Backup System user guide for detailed steps to create a replication mapping for NAS or VTL.
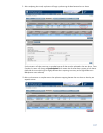
4. Allow replication to synchronize the two devices.
Step 2 – Delete the original VTL/Share
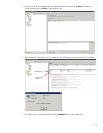
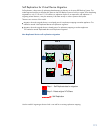
1. Stop any backup jobs from running to the source device so that both source and target now remain identical.
2. Remove the replication mapping.
3. Remove the appliance address from the list of replication target appliances.
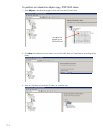
4. “Connect” the backup media server to the new device. For example:
– Mount the NFS share
– Discover the iSCSI VTL device and connect
– Zone the FC SAN so that the host can access the new VTL
5. If using VTL it will be necessary to delete the existing backup application presentation of the VTL and create a
new device to connect to the new VTL. This is because the WWN and serial number of the new library is
different to the original.
If using NAS a new path to the NAS share will be required, this may involve creating a new NAS target in
the backup application.
Consult the documentation for your backup application for more information on reconfiguring devices and
changing the path to disk backup devices.
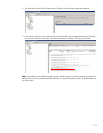
6. If using VTL scan/inventory the new device so that it can update its database with the location of the
cartridges within the library.
If using NAS it may be necessary to import the data in the new share into the backup application database.
7. Once the new VTL/share is successfully configured to work with the backup application delete the original
device. You are now left with a new device that contains the original data but benefits from the improved
performance.
1
2


