


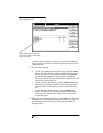

6.
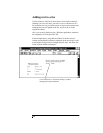
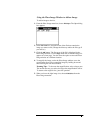
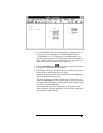
To select the image, draw a box around it by holding holding down
the left mouse button and then releasing it. The area you select is
enclosed by a black box.
7.
From the main menu bar, choose
Special/Paste
. The Place Image
window closes, and the area you selected is pasted on the fax.
8.
Drag the pasted element to the desired location. (To move to another
page, use
Page
from the main menu or the
Page Turning/Jump to Page
tool on the toolbar.)
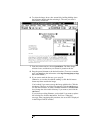
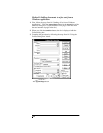
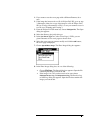
9.
If you want to send the fax now, go to step 10.
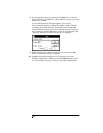
Otherwise, to save the fax without sending it, click the left mouse
button anywhere outside the image.
You're asked if you want to merge the image with the fax. Click the
Yes
button. The Save As dialog box appears. Click the
OK
button to
use the same filename, or enter a different filename in the
File Name
box (change the drive and/or directory if you want to) and click the
OK
button.
If you used an existing filename, you're asked if you want to replace
the existing file; click the
Yes
button. You'll see a "Merging"
message. After completing this procedure, the saved file is displayed
in the Eclipse FAX SE window.