Print Server Administration User’s Guide
EtherP Admin Administration
21
7. Exit the remaining dialogs by pressing OK. The printer should now be
available for use.
MS-DOS/PC-DOS Workstations
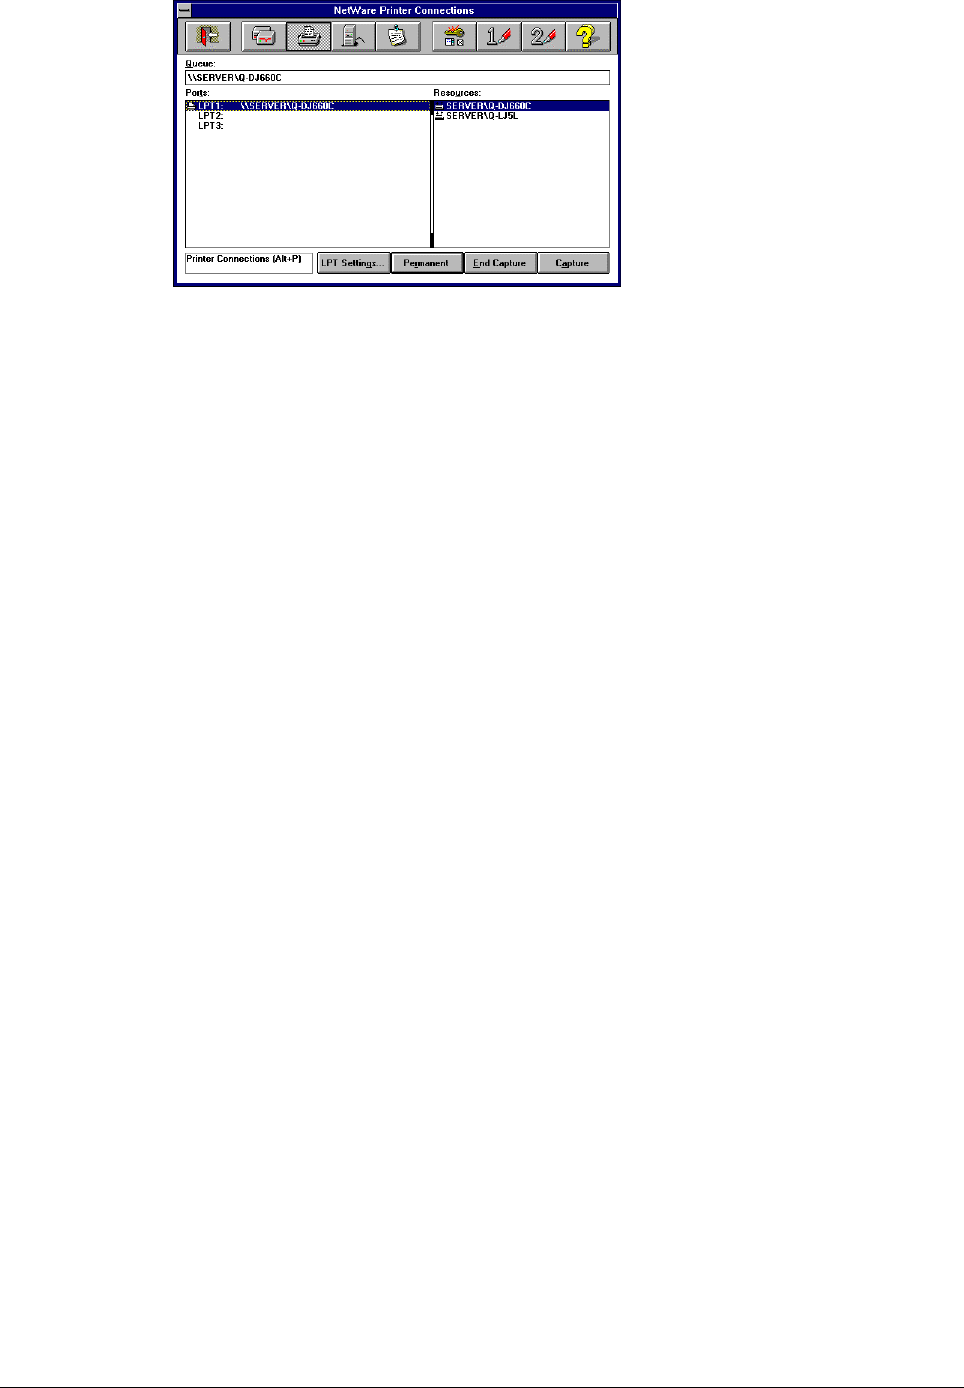
For printing from DOS-based workstations, you can use the CAPTURE command to
redirect one of the workstation’s printer ports (LPT1, LPT2, or LPT3) to the network
print queue. The syntax for the CAPTURE command is:
CAPTURE L=n S=server Q=queue TI=n F=form B=bannername
Choose values for the options as follows:
♦
L=
n
Determines which local port will be redirected to the network print
queue.
L=1
corresponds to LPT1,
L=2
corresponds to LPT2, and
L=3
corresponds to LPT3. By default, LPT1 is captured.
♦
S=
server
Determines which server the print queue is located on. By default,
your login file server is used.
♦
Q=
queue
Determines which print queue your print jobs are redirected to.
♦
TI=
n
Sets the timeout for Autoendcap. After your application starts printing,
if it goes for n seconds without any additional printer output, then NetWare
assumes that the print job is finished and sends it to the printer. If your print
jobs are becoming split up you may need to increase this setting.
♦
F=
form
Determines which form print jobs will use. Forms can be defined
using PRINTDEF.
♦
B=
bannername
Sets the text that appears on the banner for the job. By default
the banner text is LST:. You can disable the banner entirely using the
NB
option.
You can add the CAPTURE command to your network startup batch file, or add it to
your login script preceded with a # symbol.
NetWare Settings
If necessary, you can use the Queue Service Settings tab of the NetWare
Configuration dialog window to set several of the print server’s parameters.


