


Print Server Administration User’s Guide
26 EtherP Admin Administration
properly to the port number; the first port should be printer number 0, the
second port printer number 1, and so on. Press OK to complete print server
assignments for the print server.
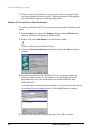
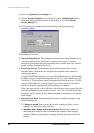
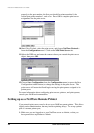
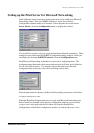
10. Start EtherP Admin, select the print server, and choose NetWare Protocol...
from the Configuration menu. Click on the NDS Print Server tab.
11. Select the NDS tree and enter the context where you created the print server
object, then press OK.
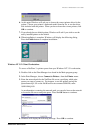
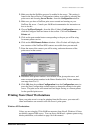
12. Choose Save Configuration from the Configuration menu (or press the Save
Configuration toolbar button) to change the settings in the print server. The
print server will restart itself and begin serving the print queues assigned to its
printer ports.
For more information about configuring print servers, printers, and print queues,
consult your NetWare documentation.
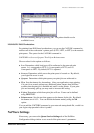
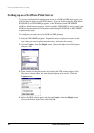
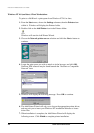
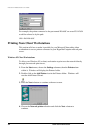
Setting up as a NetWare Remote Printer
Your network print server can also be set up as NetWare remote printer. This allows
slightly easier administration, but may increase printing delays. To set up a printer
port as a remote printer port,
1. Make sure you are logged on to your NetWare server as Admin, or that you
have permissions equivalent to Admin.