


Print Server Administration User’s Guide
44 EtherP Admin Administration
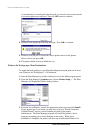
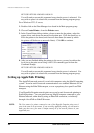
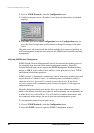
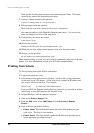
2. Choose TCP/IP Protocol... from the Configuration menu.
3. Configure the print server’s IP address, local network subnet mask, and default
gateway.
4. Press OK, then choose Save Configuration from the Configuration menu (or
press the Save Configuration toolbar button) to change the settings in the print
server.
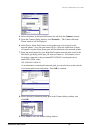
The print server will restart itself and will be available for
lpd
-protocol printing, as
well as management using the
telnet
protocol and SNMP-based centralized network
management.
Allowing SNMP-based Management
SNMP (Simple Network Management Protocol) has become the standard protocol
for managing large networks from central management consoles. HyperNet
Fastprint network print servers support the SNMP Management Information Base
known as MIB-II, which collects basic statistics on the print server’s basic TCP/IP
and Ethernet networking operations.
SNMP (version 1) implements a rudimentary form of security by requiring that each
request include a community name. A community name is an arbitrary string of
characters used as a “password” to control access to the device. If the device
receives a request with a community name it doesn’t recognize, it will trigger an
authentication trap.
HyperNet Fastprint network print servers allow up to three different community
names to be defined, and the access rights for each community can be separately set
to either Read Only or Read/Write. You will need to coordinate these names with
the community name settings you use in your network management system.
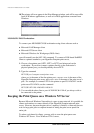
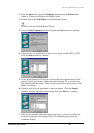
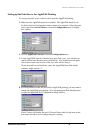
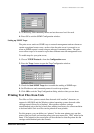
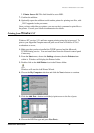
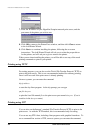
To set community names for your print server,
1. Choose TCP/IP Protocol... from the Configuration menu
2. Press the SNMP... button to open the SNMP Configuration window.