Assembly\Disassembly 117
ASSEMBLY/
DISASSEMBLY
Croma24 Service Manual
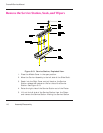
6. Route the Stepper Motor ground strap through the wire access
area and to the wire clamp. Attach onto the back of the MPCB.
7. Carefully snap the Platen onto the printer Base. Ensure that
the ground straps for the Slide Shaft and C-Bracket are coming
through the holes in the Platen.
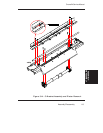
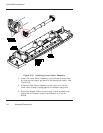
8. Secure the Lower Roller Assembly onto the Platen.
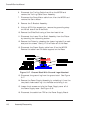
9. Attach the C-Bracket Assembly and ground strap to the Platen
by aligning the bracket onto the bracket guide pins and securing
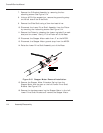
with attaching hardware to 15 in-lb of torque. See insert of
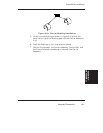
Figure 5-14 for connection of ground strap onto the C-Bracket.
Ensure that the Pinch Rollers are centered on the lower rollers
and that tension is being applied the the lower rollers.
10. Attach the Slide Shaft to the supports tightening to 15 in-lbs of
torque using 3mm hex head torque screwdriver.
11. Attach the ground strap to the left side of the Slide Shaft.
12. Perform the Carrier Assembly, Carrier Belt, and the Frame
Tensioner Reinstallation procedures to reinstall the Carrier
Assembly.
Remove the Power Supply and AC Entry Module
1. Remove the Left, Middle, and Right covers by following the
cover removal procedures.
2. Remove the Cutter Actuator by reaching under the Platen and
releasing the actuator tabs.
3. Release the Carrier Belt from the servo Motor spindle by
pressing the tension assembly inward to allow enough slack to
lift off the belt from the servo motor.
4. Disengage the Trailing Cable from the Carrier Assembly by
disconnecting the cable from J1 on the Carrier Board and
pressing on the Trailing Cable Strain Relief latch (see Figure 5-
4).
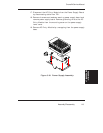
5. Slide the Carrier Assembly, Belt and Tension Assembly off the
left side of the Slide Shaft.


